Using the Timelines View

Using the Timelines view (or, named after its inventor, the Gantt Chart) allows you to see and work with any data that have a start and an end date (e.g. events, bookings…).
Additionally, in Timelines, you can reschedule these items, see their progress, set dependencies and more.
Configuring the View
1. Basic Settings
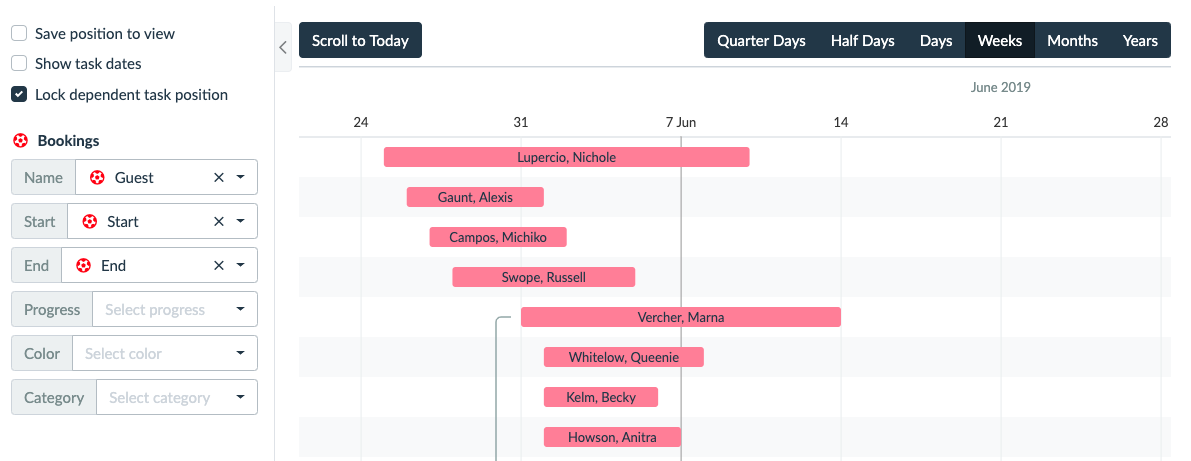
To start using the Timeline view, it is necessary to have a basic set of attributes configured. Firstly, you need to set the name of the events and their start and end date. After that, the events appear on the timeline.
2. Change the Granularity
Based on the level of detail that you need, you can change the granularity. There is a wide range available, from quarter days to years.
3. Set Some Progress
If the records (e.g. tasks) have an attribute representing progress, you can display it on the timeline. After that you can notice the different shade of color on the ribbons.

4. Choose a Color
Every record can be represented by a different color based on an attribute. Such an attribute has to be of type color or selection.
5. Categories and Swim Lanes
You can group the records (events) into categories (or so-called swim lanes). In addition to that, it is also possible to group the records into sub-categories.
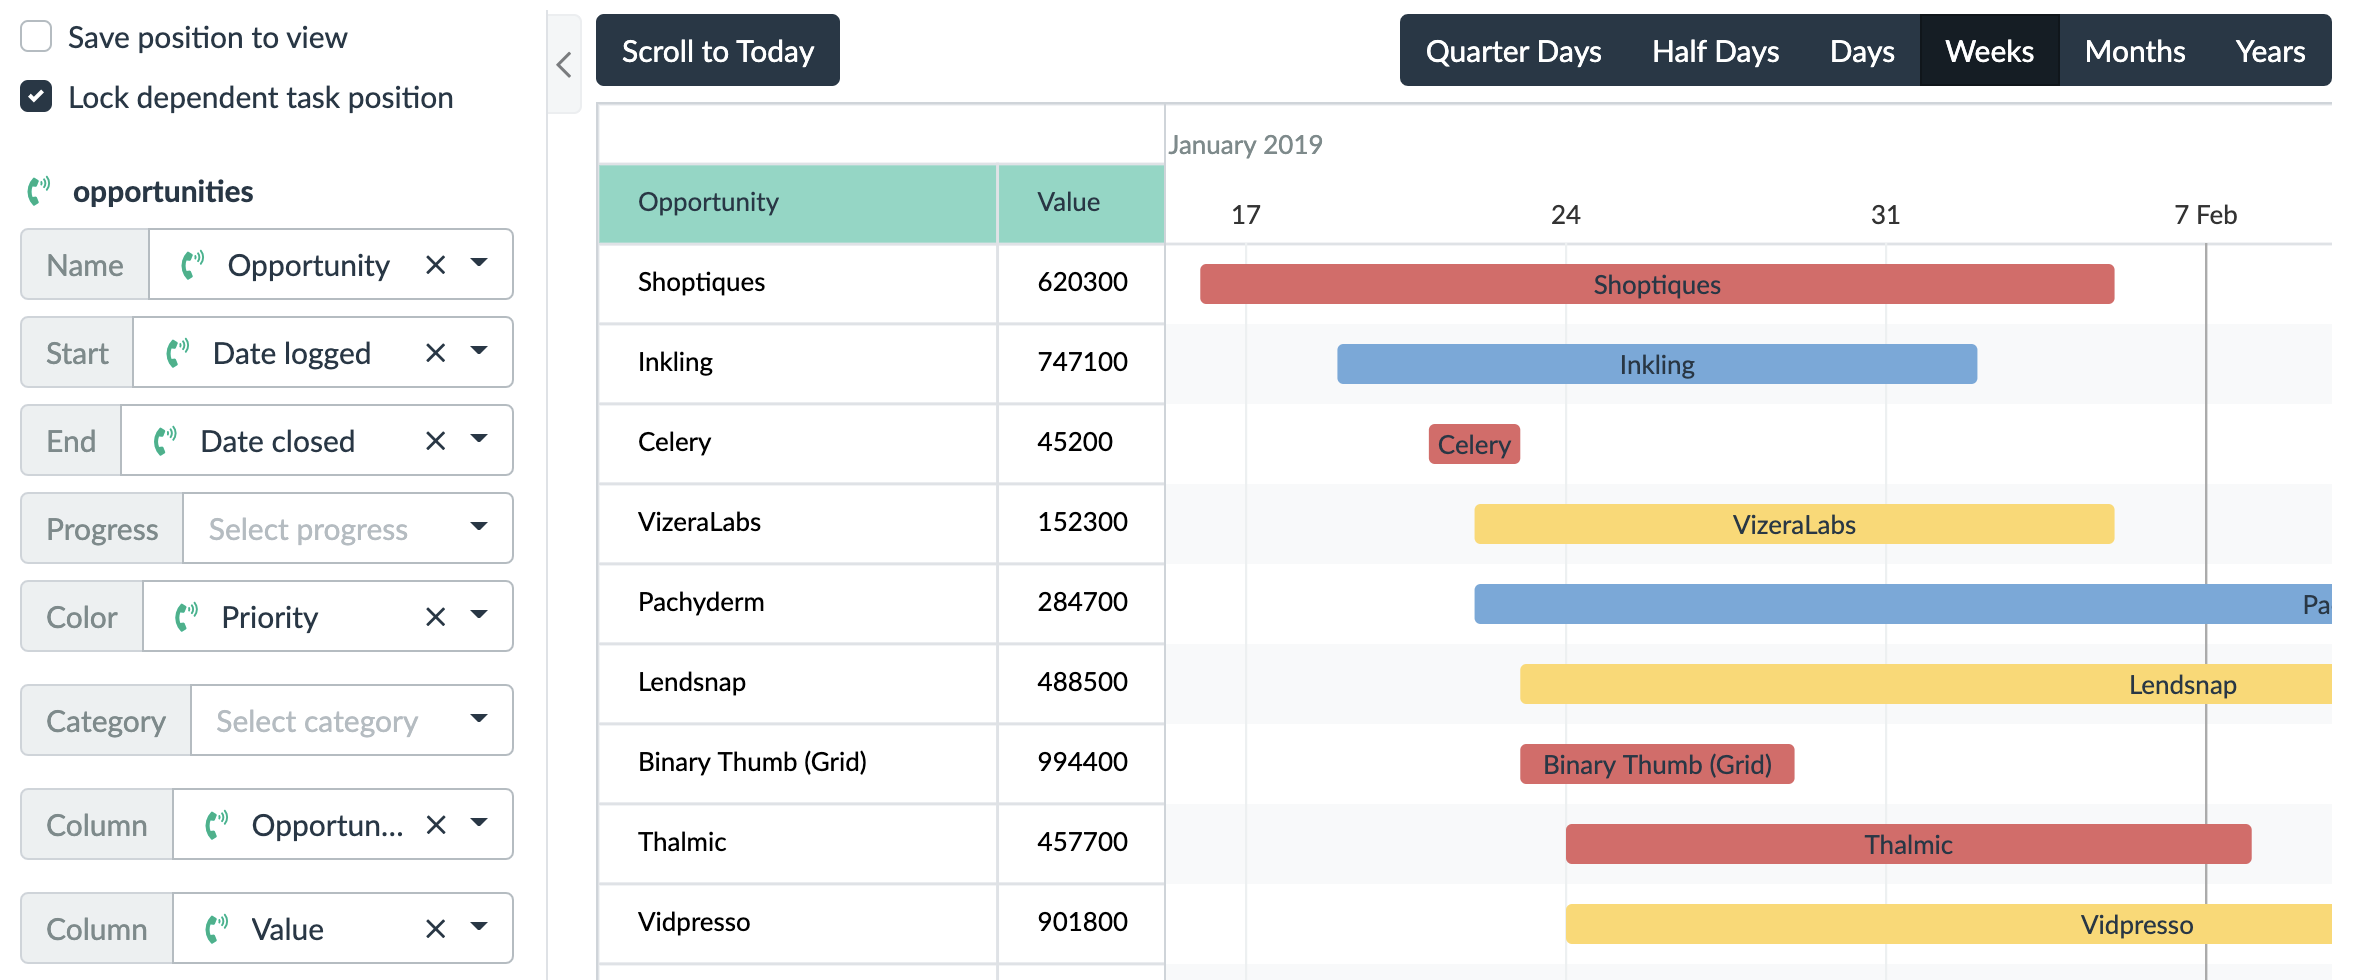
6. Add Custom Columns
You might want to see some more details of your items in front of the individual lines. In such a case, just add them to the Column configuration property.
Using the Timelines View to Work With Your Data
1. Edit the Start and End Date
You can edit the start and end date right in the view.
Drag and drop the center of a ribbon to move the whole record. You can also drag the endings to edit start and end independently.

2. Update Your Progress
Similarly to dates, you can also edit the progress of the item right away.
3. Set the Dependencies
Setting a dependency creates a hierarchical relationship between the items.
Click on the small circle at either beginning or end of the ribbon, and then select the target (dependent) record (again by clicking on it).
It doesn’t matter at which end does the arrow start. Lumeer places the arrow in such a way that is visually more pleasant.

To remove the dependency, click on the arrow and then click on the bin icon.
If the Lock dependent task position checkbox is ticked (and it is by default), then by moving the main task, you will also move its dependent tasks. This behaviour can be disabled by unticking the checkbox.

4. Move Between Categories
You can also move the items among categories which updates the corresponding value automatically.
For example, if you move the booking from 203 to 205, the value of the Room attribute of the record will be updated from 203 to 205.

5. Open the Detail
By clicking on an item you can open its detail, where you can change any of the attributes, add comments, or see change history of the record.

6. Add a New Item
Click and drag the mouse anywhere outside the existing items and a popup for creating a new record will appear.
Advanced Usage
Duration as a Start or End Date
A very typical scenario is showing tasks on a Timeline. For this to work, tasks need to have their start and end date in them. Typically, (good) tasks have a deadline (or a due date etc). But how about the start date?
Start date isn’t the date when a task was created. Does that mean that we need to plan our tasks carefully and always set the date when we will start working on them?
This is one of the possibilities. Another option is to use an estimate for the task duration – e.g. how long does it take to complete the task. Like in the following image.
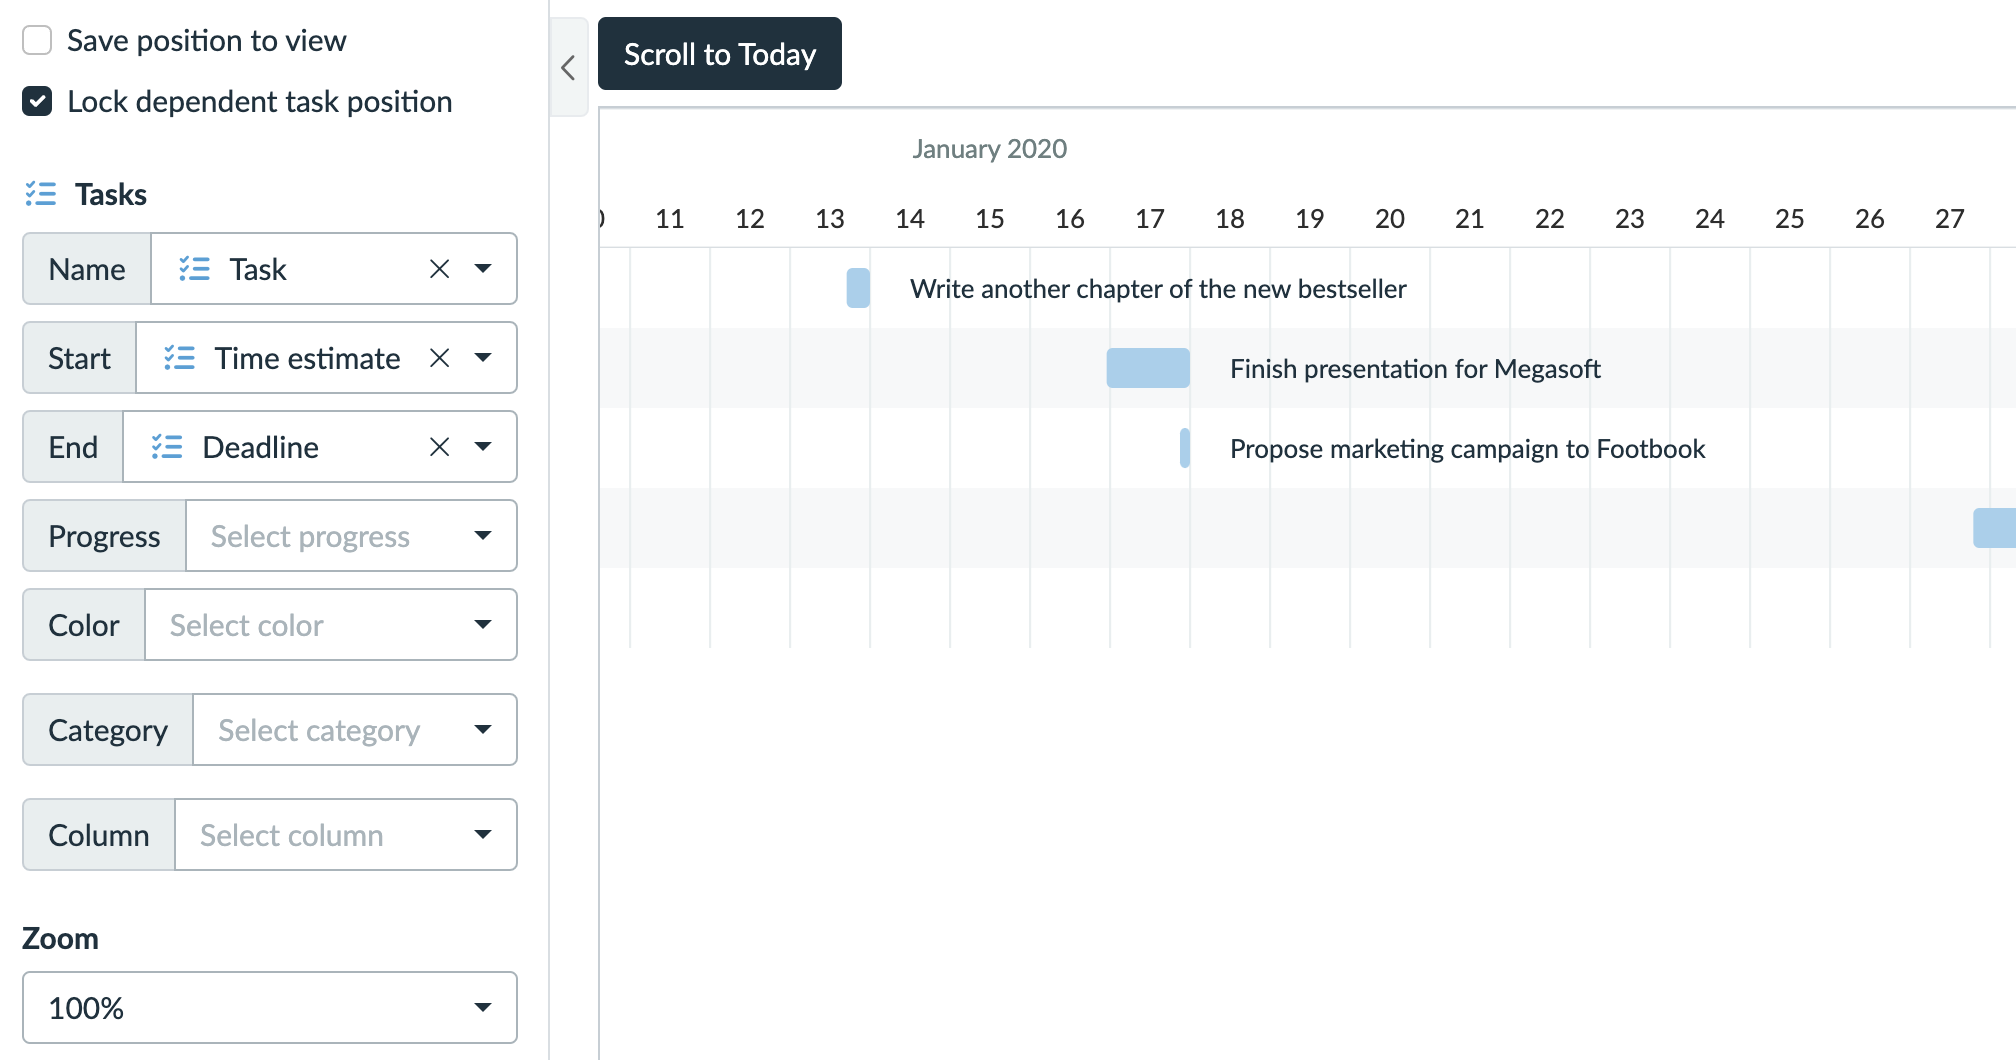
So in this case, you can have Time estimate (duration attribute data type) as a start date and the deadline as the end date. The start date is then calculated as the end date minus the time estimate.
What happens when you drag a task or change its start or end by a mouse in the time line?
| What is dragged? | What happens to the Start (duration)? | What happens to the End (date)? |
|---|---|---|
| The task beginning | Duration is increased/decreased | Stays the same |
| The whole task | Stays the same | Moves according to where we drag the task. |
| The task end | Duration is increased/decreased | Moves according to where we drag the task end. |
Similarly, you can have a date as a start, and duration as an end. The changes then work accordingly.
Conclusion
As we could see, using the Timelines view is really an efficient way of working with project schedules, roadmaps, and many more. Give it a try now!