Using the Form View

Using the Form View is best for submitting (adding) new records, and creating records with links in a single flow. You can use the Form View for editing existing records as well.
The typical use case is adding tasks linked to projects, or reporting work done on projects. But the possibilities are limitless.
After this article, you can have a look on tips how to best structure your forms from real experts.
Configuring the View
1. Adding Fields
Let’s open a table with Tasks for example, and switch to the Form View.
Every form can have sections with titles and descriptions. Sections then contain rows. The rows then contain fields. Each row can have one of the predefined layouts. Layouts enable you to have one or multiple fields in a row.
Each field represents an attribute from a record, or a linked record.
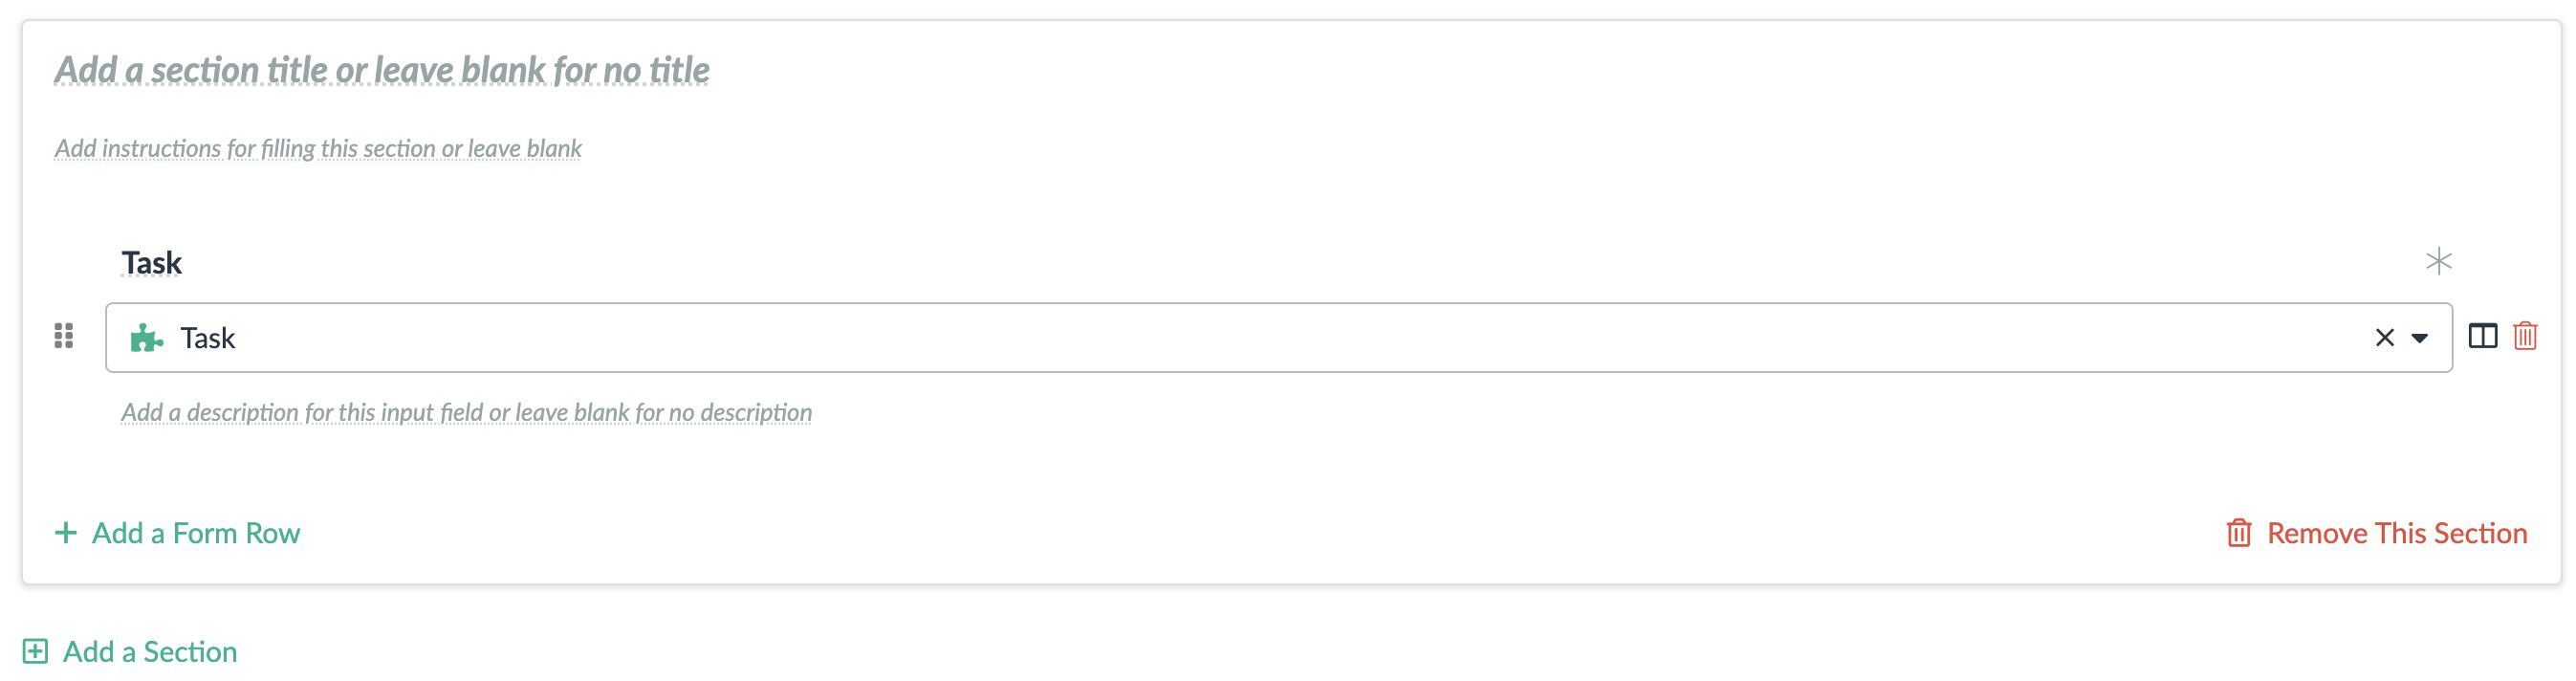
A field can be marked as mandatory by clicking on the asterisk on the right side. The row layout can be also changed by clicking on the layout icon on the right side of the row.
Let’s add a few fields to the form.
2. Adding Link Fields
The Form View allows users to easily enter links between records. A linked record can be specified as a form field. Each task can be linked to a project for example. This is how a project link field is created.
You can specify which of the project attributes will represent the projects in the form. For example, you can use a project code, or the full project name.
3. Linked Fields Parameters
In addition to specifying the attribute that represents a linked record, you can configure filters and number of links.
The filters can help you select only some linked records, for instance active projects, employees in a specific department etc.

The number of links tells you how many records you can link in the field. There is a minimal and a maximal number of links allowed. Typically for the project tasks, we want exactly one linked project (so both the minimum and the maximum will be 1). When left blank, the minimal number of links is 0, and the maximal number of links is infinite.
4. Using Customized Form View Buttons
You can specify text on the Form View buttons to better represent the form intent. You can also set their color and icon.
5. Predefined Fields
You might want some of the fields to have predefined values. This can be done even for invisible fields (attributes that aren’t used in the form). Simply set the default values in the query box at the top of the screen.
Here we set the default value of the Assignee field to be the current user.

Using the Form View to Update Your Data
1. Editing Existing Records
You can now switch off the design mode of the form and use it to update your records. As you can see, there is a small table at the top of the form that shows you existing records.
Sometimes, the form might not allow you to edit all the attributes of the records. You can always double-click on a record in the table and open them in the detail dialog.
2. Creating New Records
To create a new record, simply click on Add new row at the bottom of the table with records. A new empty record is opened in the form and you can fill in the values.

The Form view is also capable of showing existing records when adding a new row or editing an existing one. This is useful for example when creating a record for a new client, account, issue etc. to avoid duplications.
3. Allow Only New Records Creation
You might want to prevent updating of existing records and only use the form to create new records. Back in the designer mode, there is a switch at the top of the form to configure exactly that.
When you turn on the creation only mode, the table with existing records disappears and there is no update neither delete button at the bottom of the form.
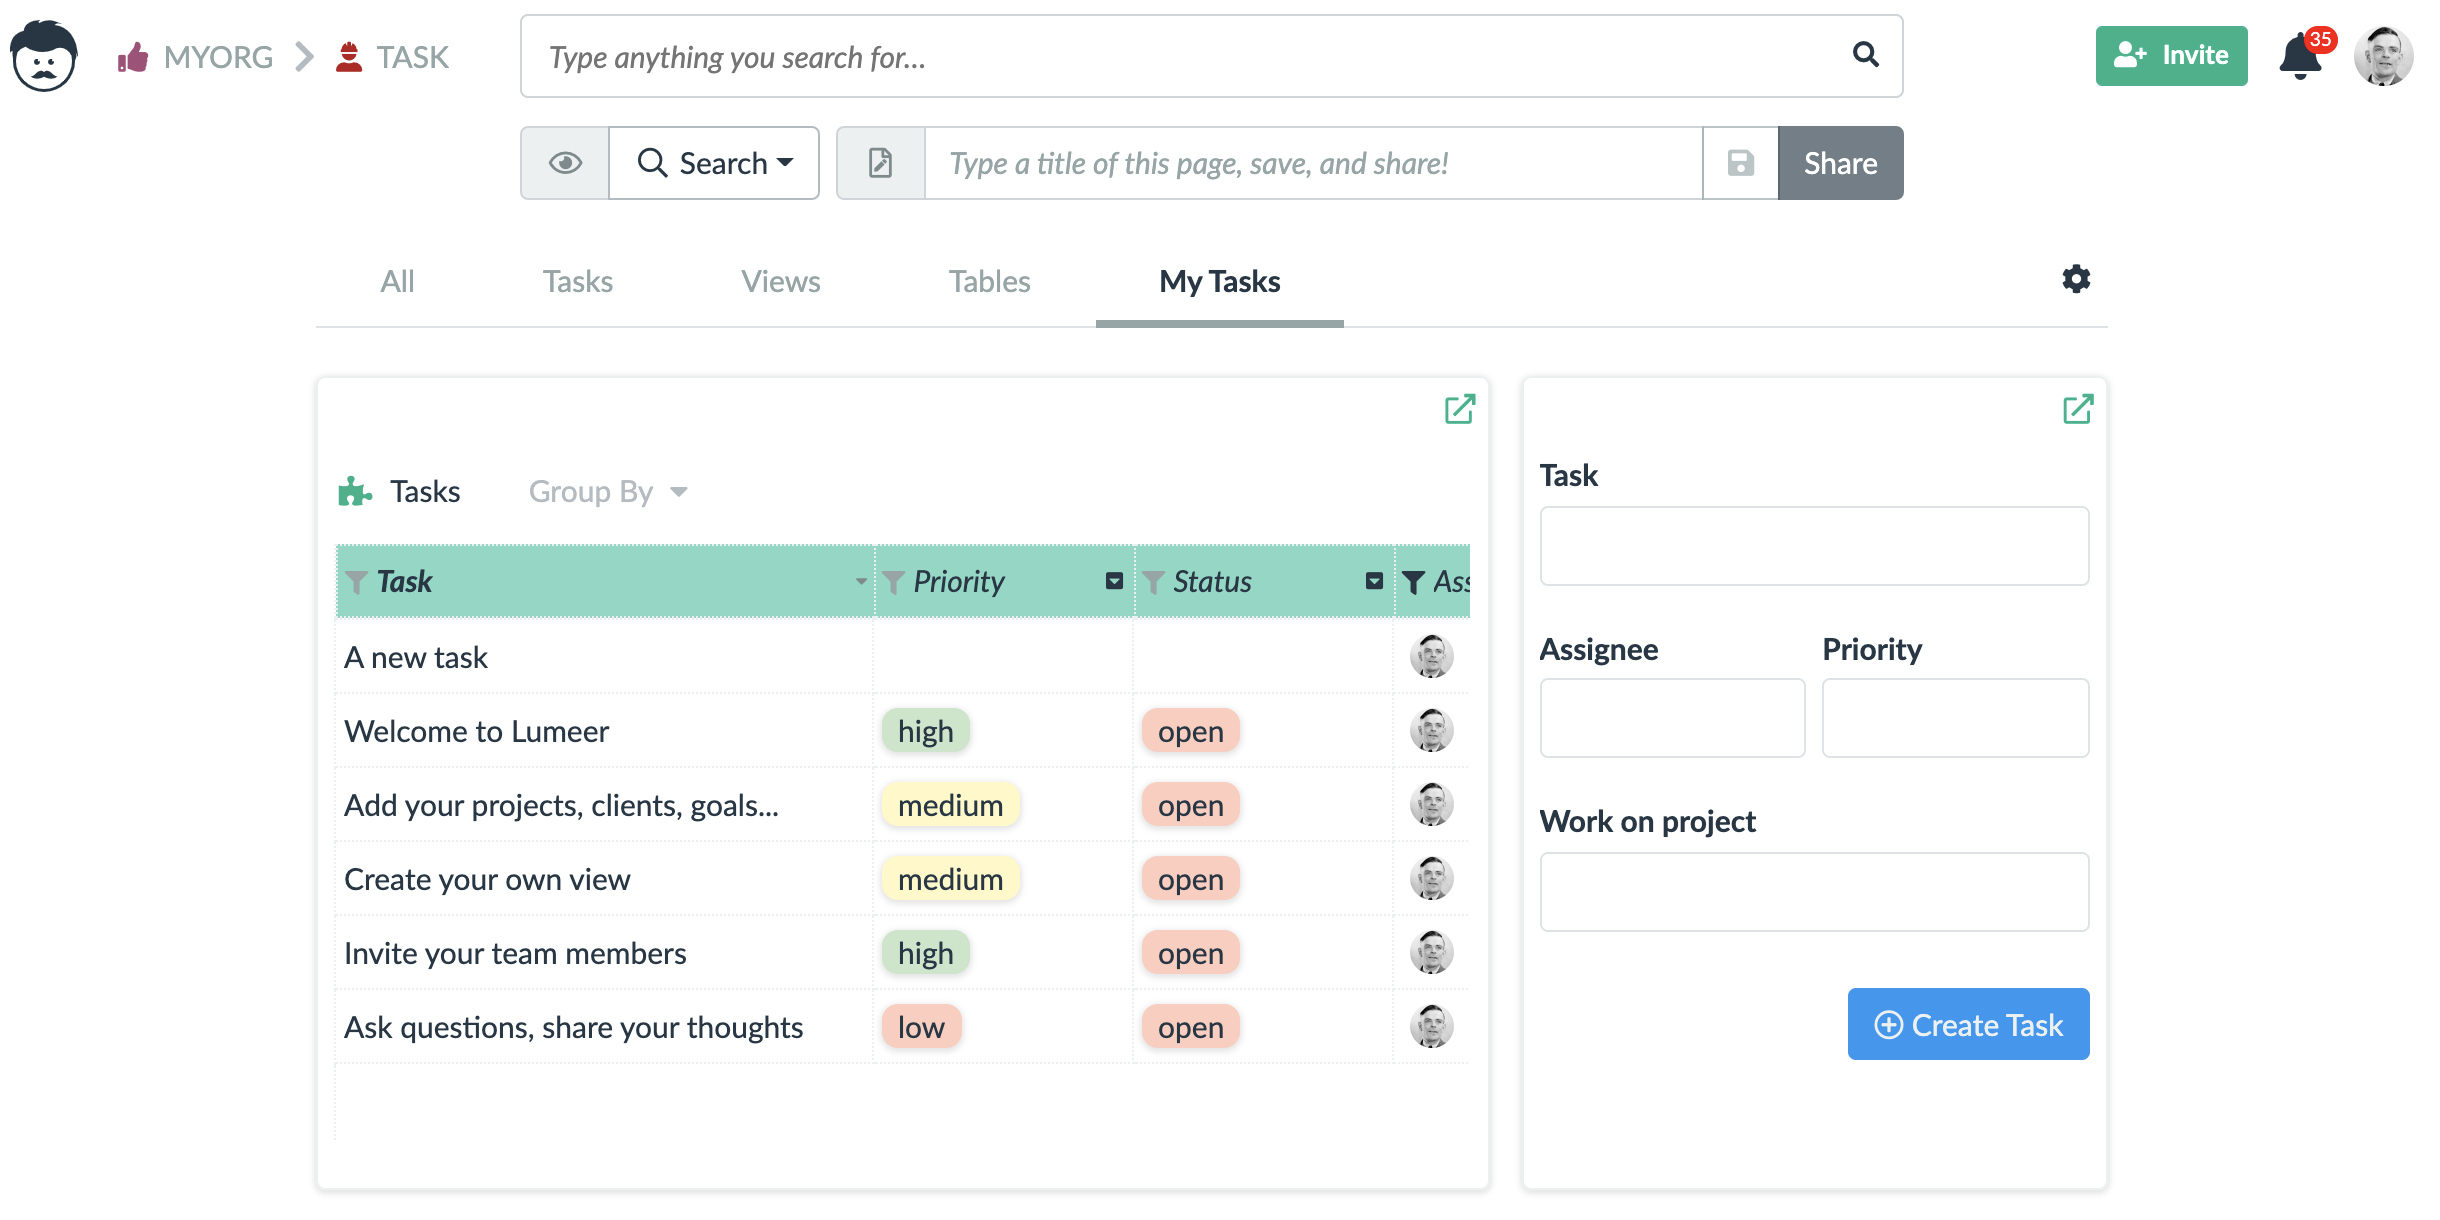
4. Using Forms in Dashboards
You can best utilize such a form that only allows creation of new record in a dashboard. Put your own view with existing records on one side and the form next to it.
If you have any idea on how forms could be improved or a feature suggestion, feel free to reach out to us.