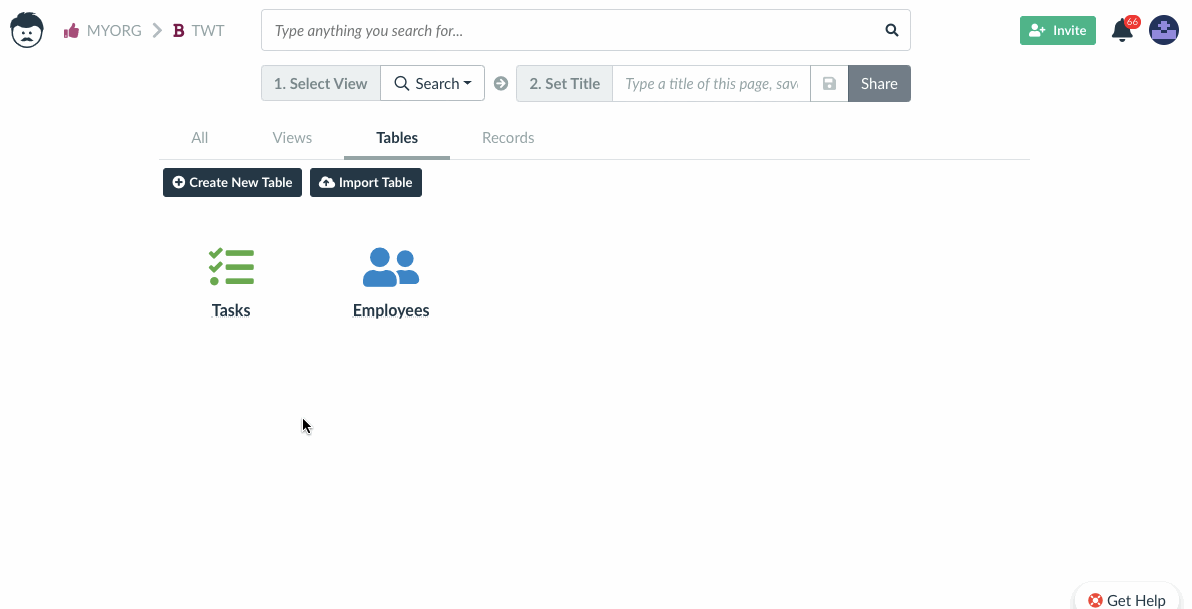
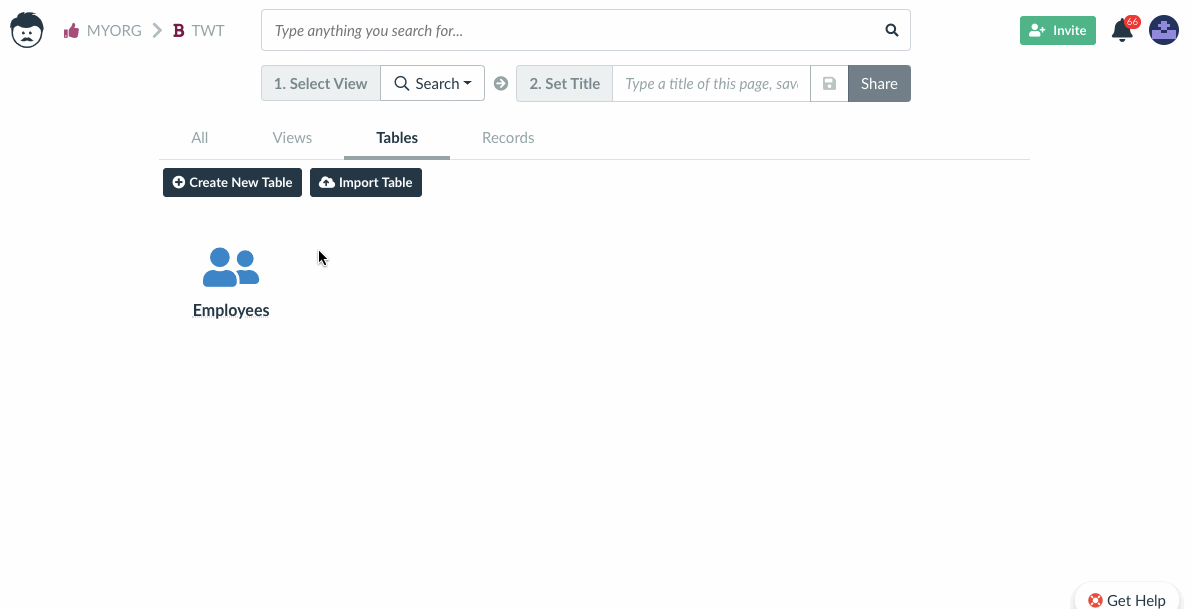
Using Table View

It’s very likely that you will be frequently using table view, as it is a default one to display your data. Learn how to make use of all of its capabilities.
Creating a New Table
To create a new table, click on Create new table button. Name your table and select icon and color for better visual orientation.
Columns and Rows
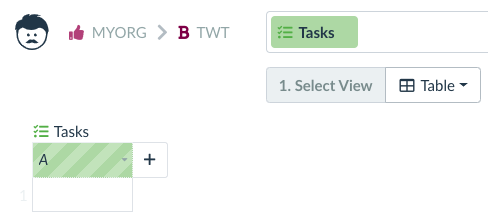
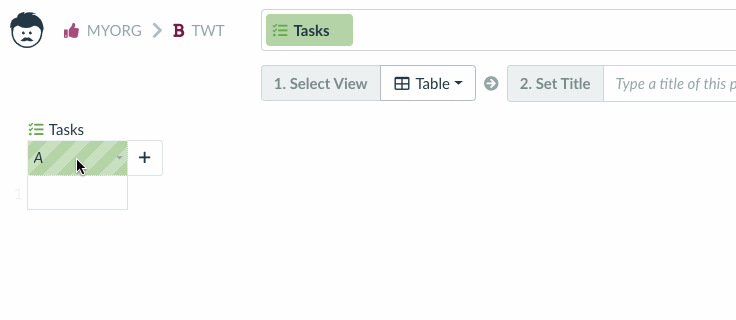
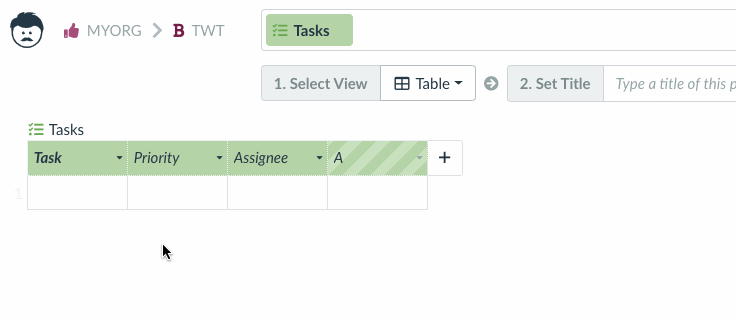
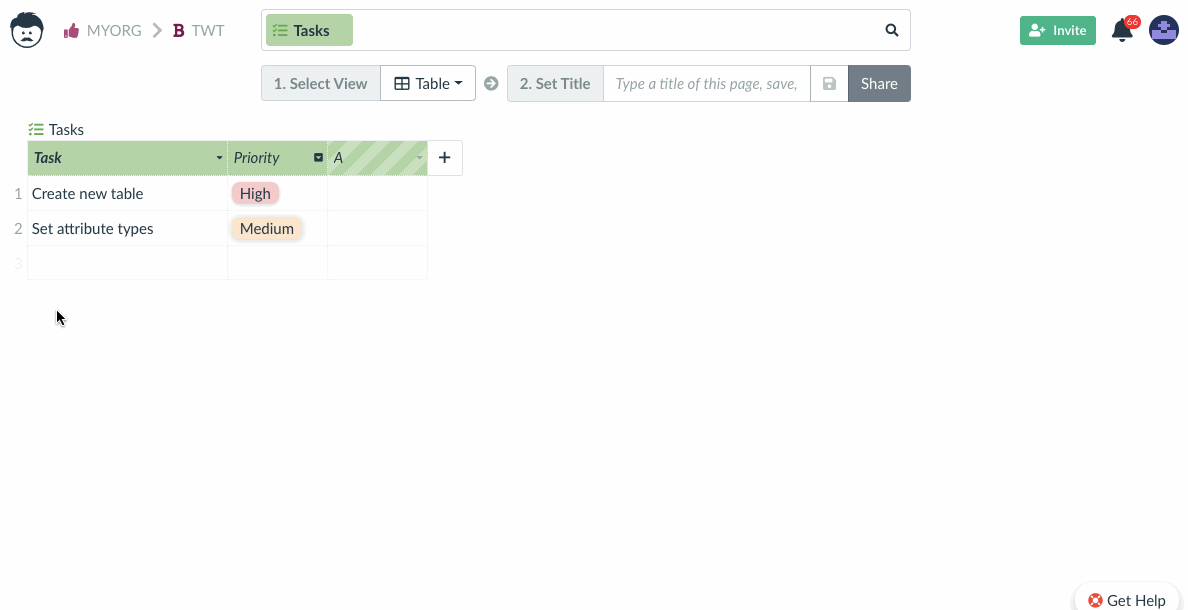
After you enter the table view, you will see an empty table. It contains only two placeholders – one for entering new column names and one for entering your data (records).
If you type into the table header placeholder and press Enter, a new column will be created and the placeholder will move to the right.
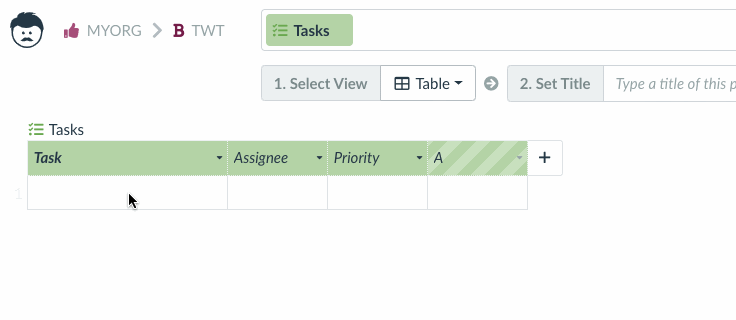
You can resize and move the columns as you wish.
To add a row to the table, simply start typing into the row placeholder. After you press Enter, a new row will be created and the placeholder will move down.
When entering values, you can get a small dropdown box showing you the existing records with similar content as you are entering. This is useful for example when creating a record for a new client, account, issue etc. to avoid duplications.
If you click on the little icon at the end of a column header (or right-click on the column header), you will see a context menu:
- Displayed attribute is the main attribute which describes the record (row). E.g. for Tasks, it’s task name, for Employees, it’s employee’s name.
- Changing attribute types and setting up functions are complex topics and are described in separate articles.
- Hiding/unhiding of columns is shown in the next animation.
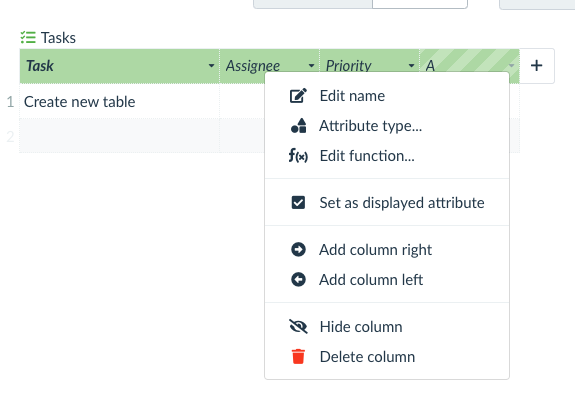
After you hide a column, three vertical dots are displayed instead of it, so that you can always easily unhide the column.
If you right-click on a row, you will see another context menu.
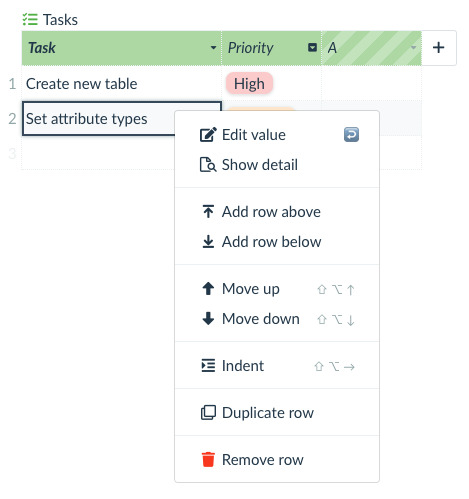
Indent/outdent are useful for creating a hierarchy.
Links
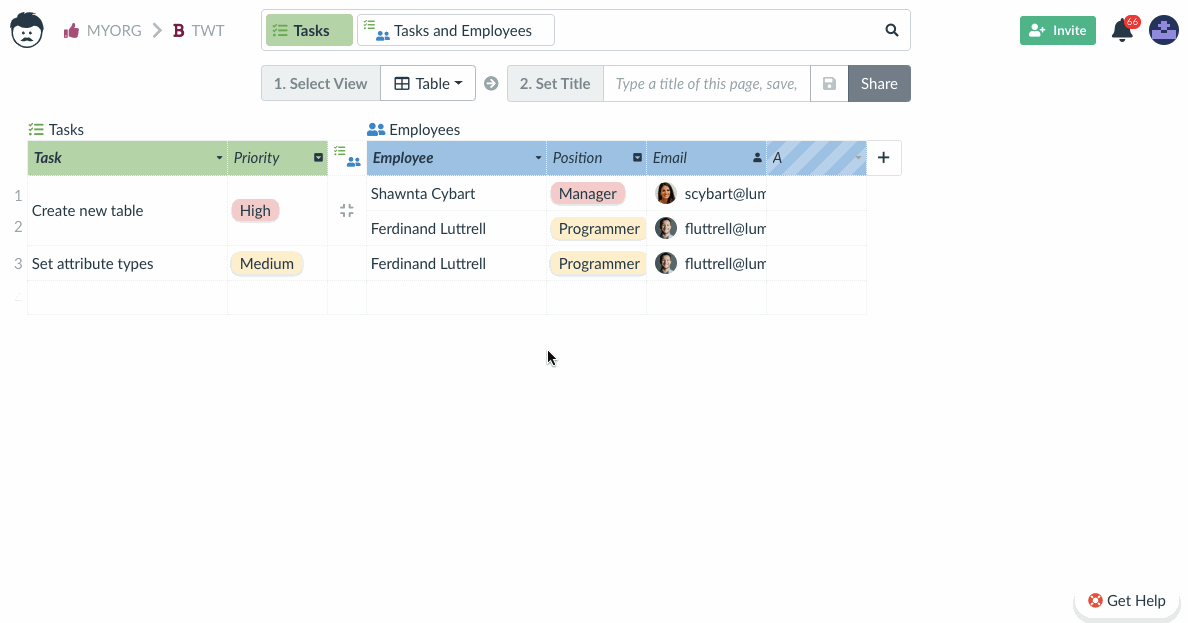
Records (rows) from two tables can be linked together using the table view. The link between tables can have various meanings – that’s why it has a name. There can even be multiple links (or link types) between two tables, each with a different meaning.
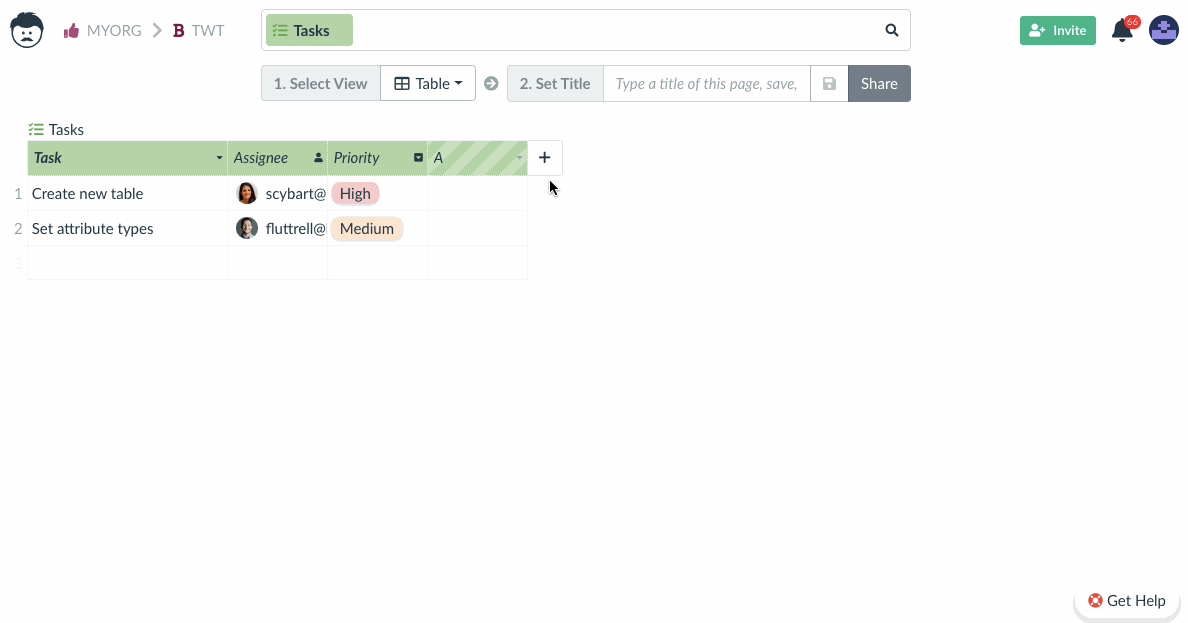
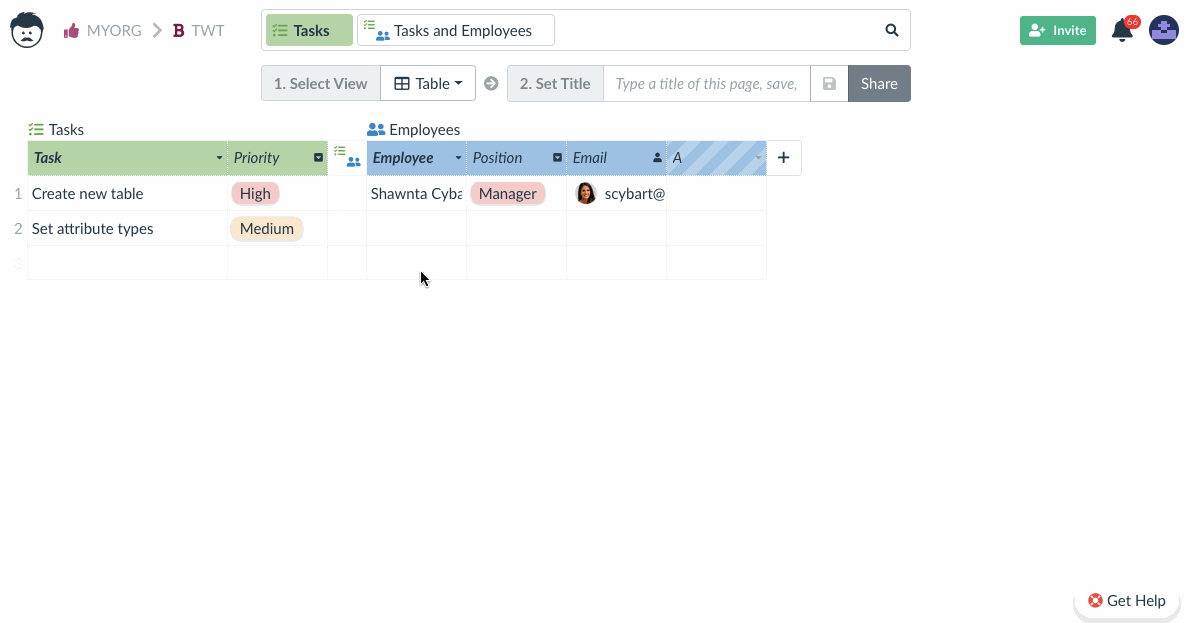
For example, tasks can be linked to the employees who are going to work on them, or they can be linked to the employees who are going to review them.
In this case, we only create a link between tables Tasks and Employees where the employee is an assignee of the task.
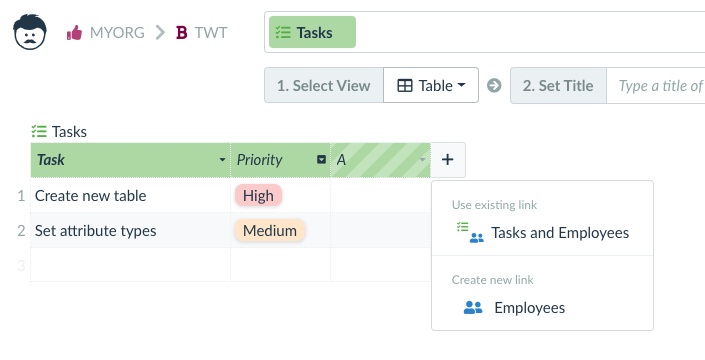
Click on the plus icon, select Create new link and give it a name.
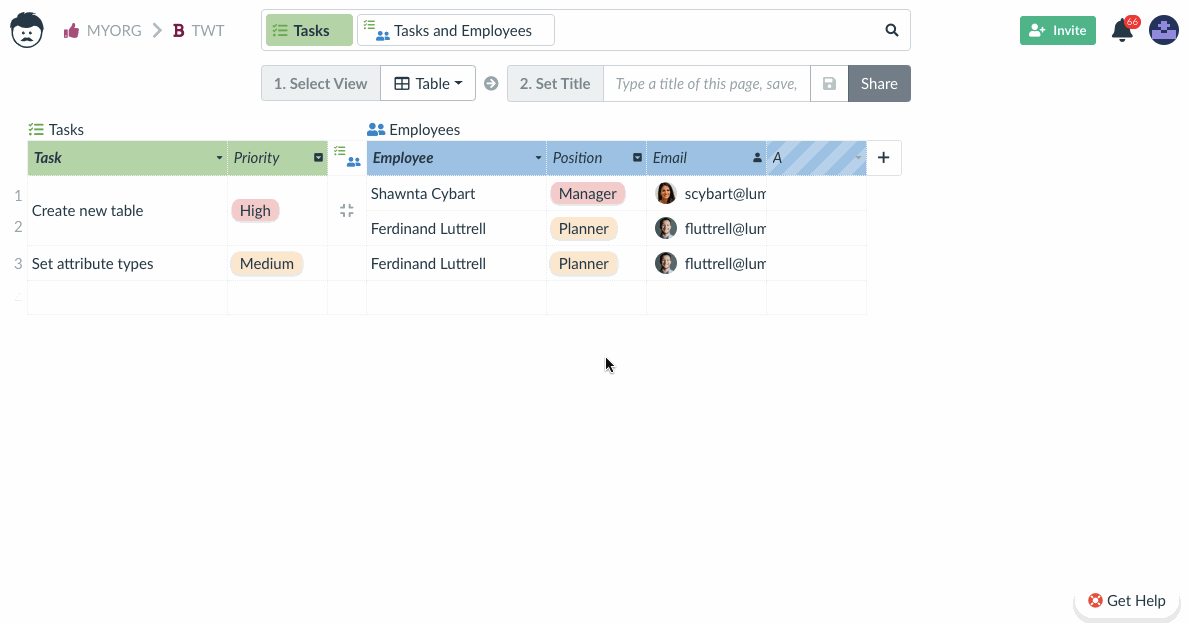
When you start typing into the second table, you will get suggestions with the records that already exist in the second table.
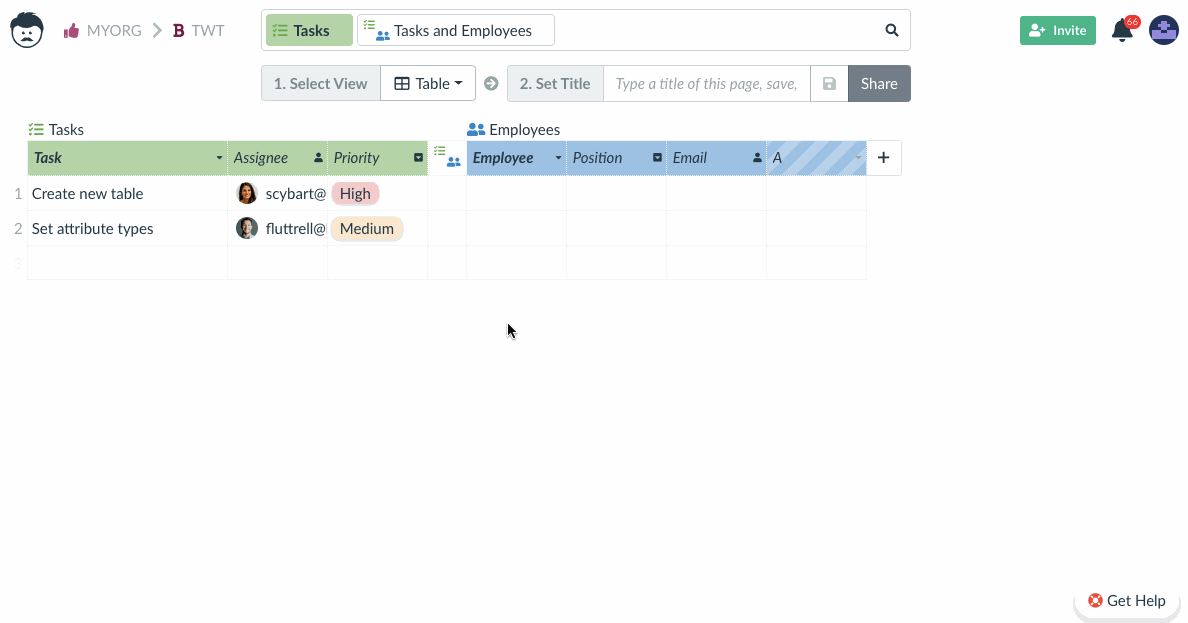
We have removed the Assignee column from the Tasks table as the linked employee is an assignee.
You can even link multiple employees to a single task by clicking on Add row above/below.
And you can also link the same employee to multiple tasks. The great advantage of this that you are not creating duplicate data – although one employee is displayed multiple times, it is still the same record. If you update that record in one place, it will get updated everywhere.
If you need to link an employee which is not in the Employees table yet, you can create a new record in the same screen.
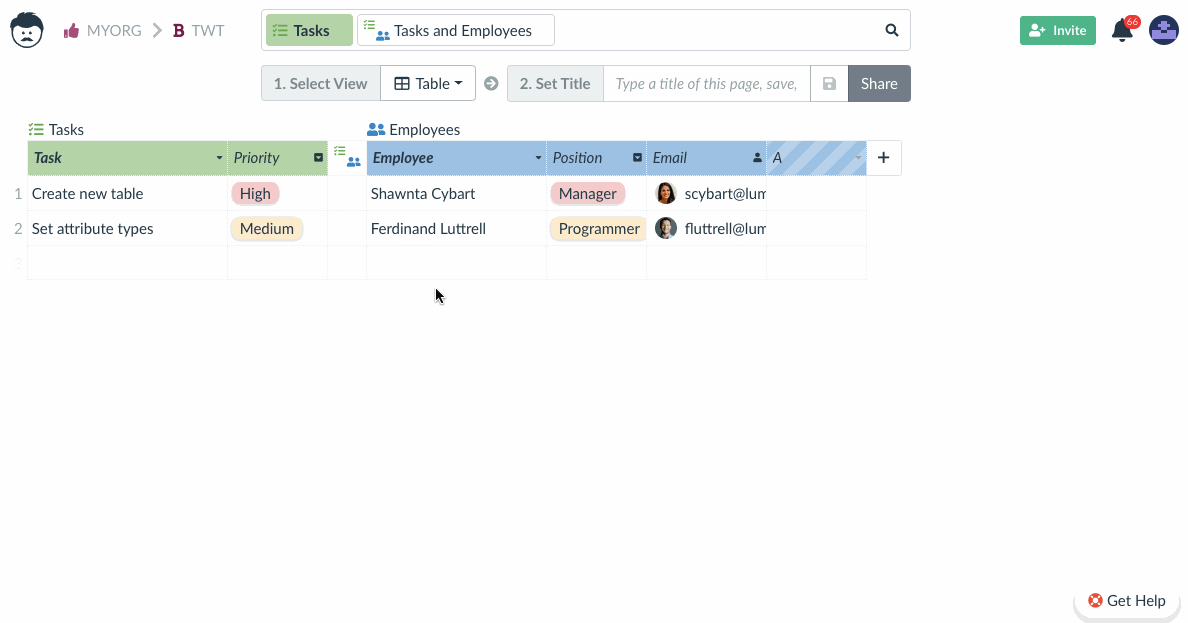
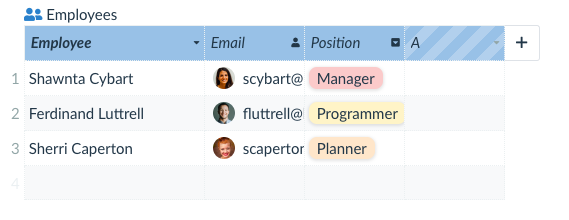
The newly added record will of course appear in the Employees table, too.
To remove the link between two rows, select Unlink row from the context menu.
Next time you open the table and also want to display the linked table, you will find it after clicking on the plus button – Use existing link.
Settings
At any moment, if you want to change the configuration of your table, click the gear icon to get into table settings.