Using Hierarchies

In Lumeer, you can set up hierarchical relationships (i.e. hierarchies) between the rows in your tables. These relationships can have multiple levels.
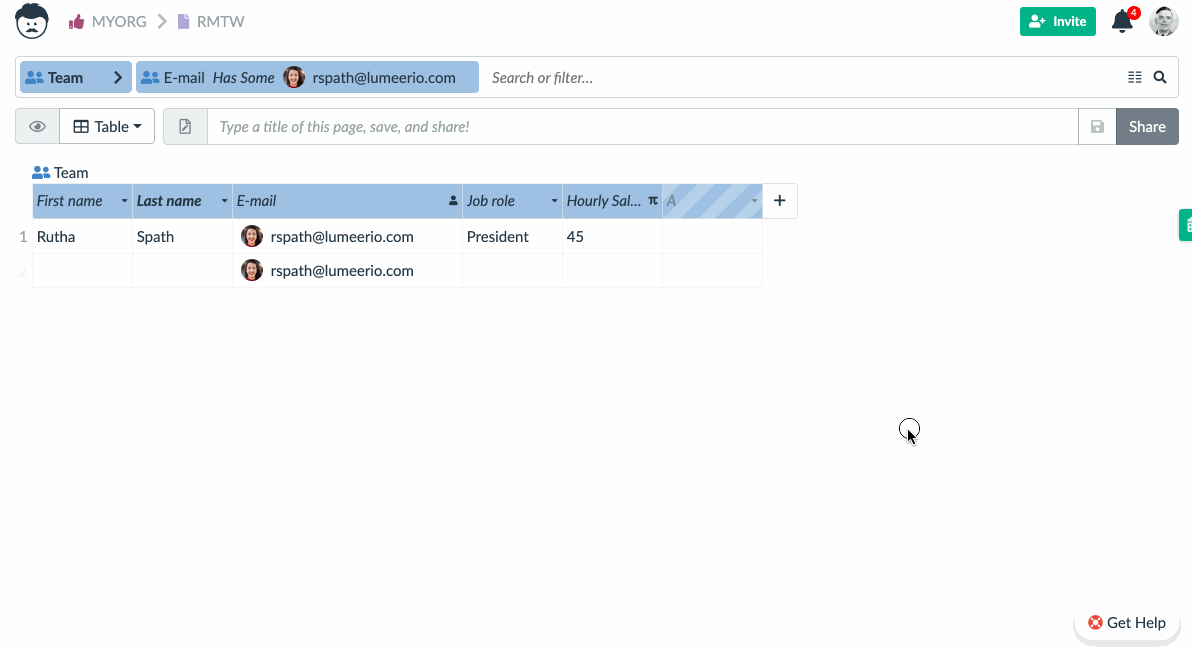
You can do that by right-clicking on a row in the table and choosing Indent to move the row to the right. This will make it the child of the row above it. When you want to move the row to the left, choose Outdent.
Using the hierarchies is especially useful when working with an employee structure, tasks and sub-tasks, or various work items.
The same hierarchical relationship, but with a different visual representation (called dependency), can be also represented in the Timelines view.
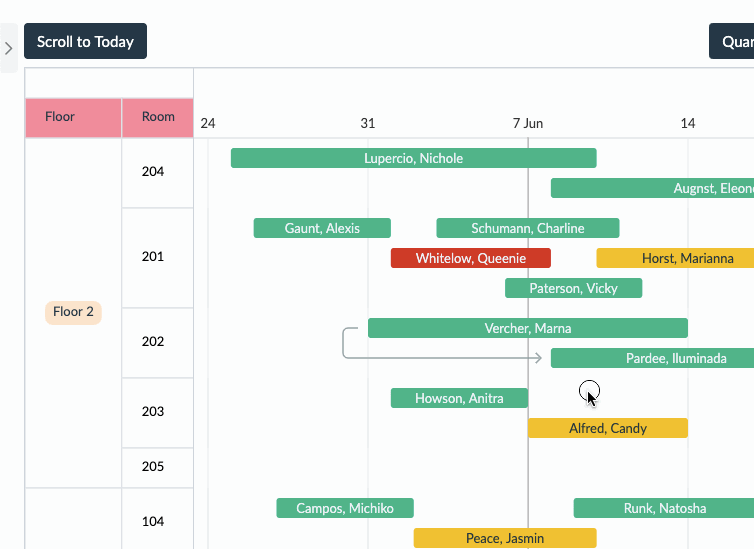
The record from which the arrow starts is superior to the record where the arrow ends.
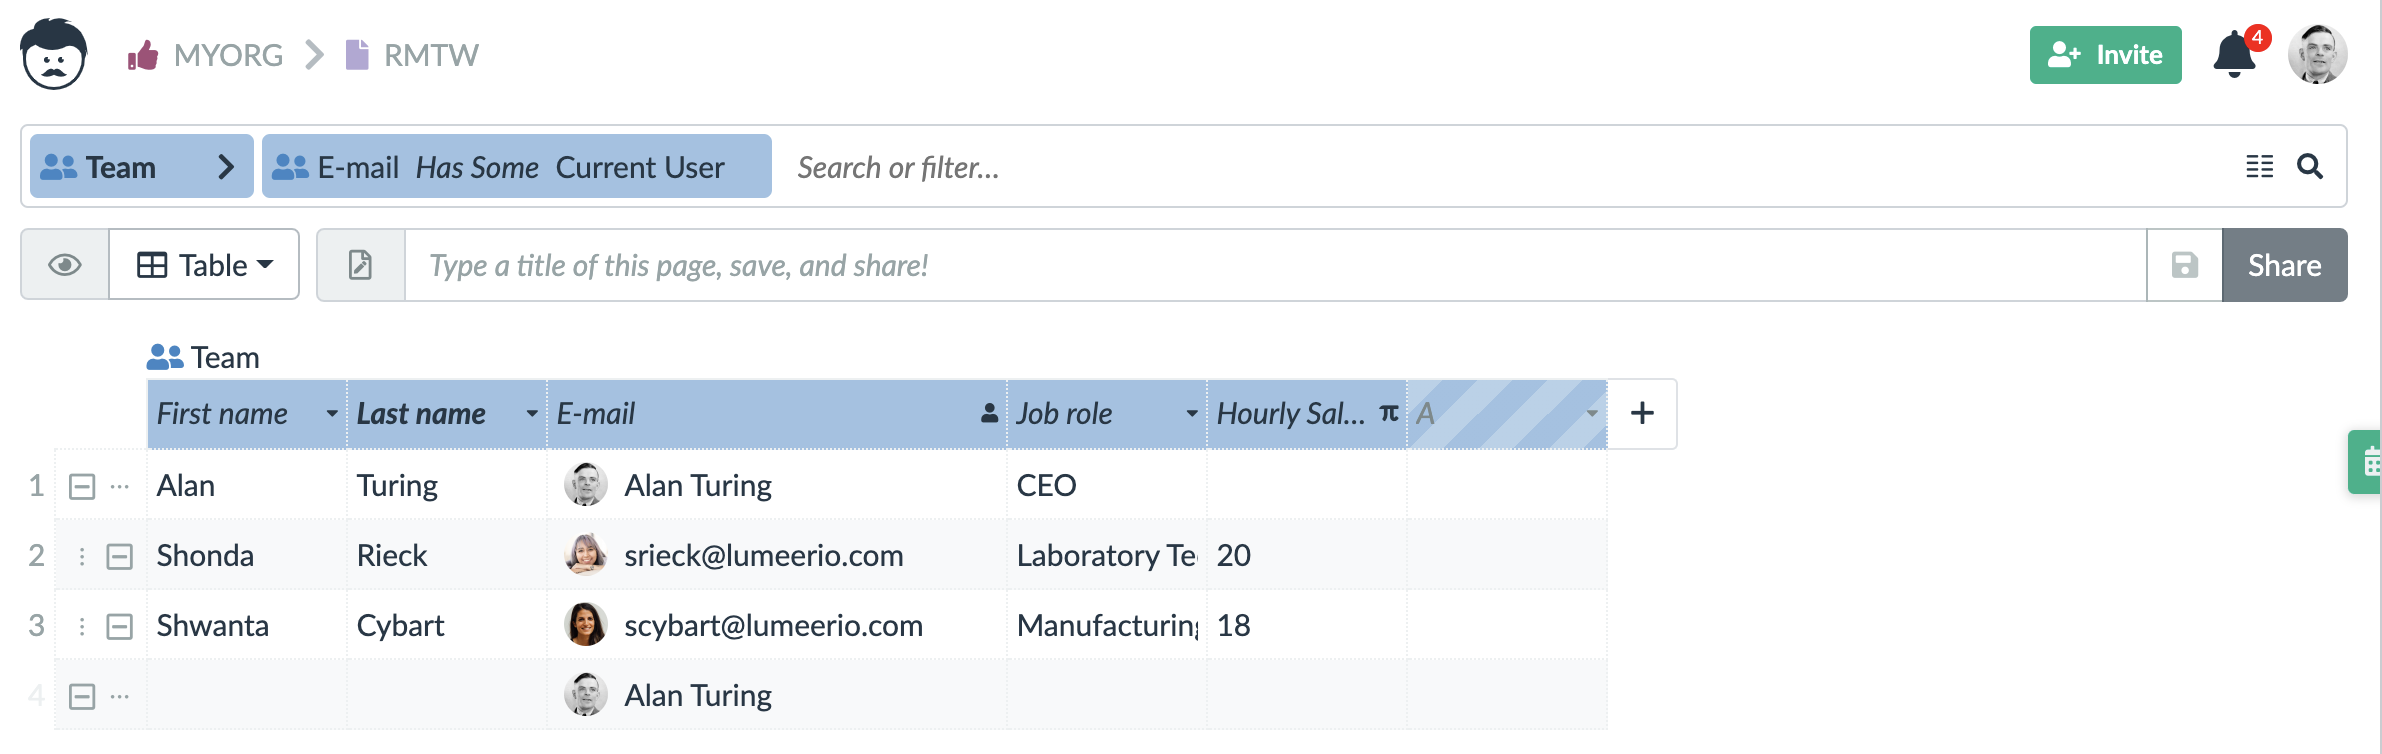
Moreover, hierarchies can also be used to filter your data. You can, for example, create an employee structure and filter by current user. Next, include employees reporting to the current users (in the hierarchy).
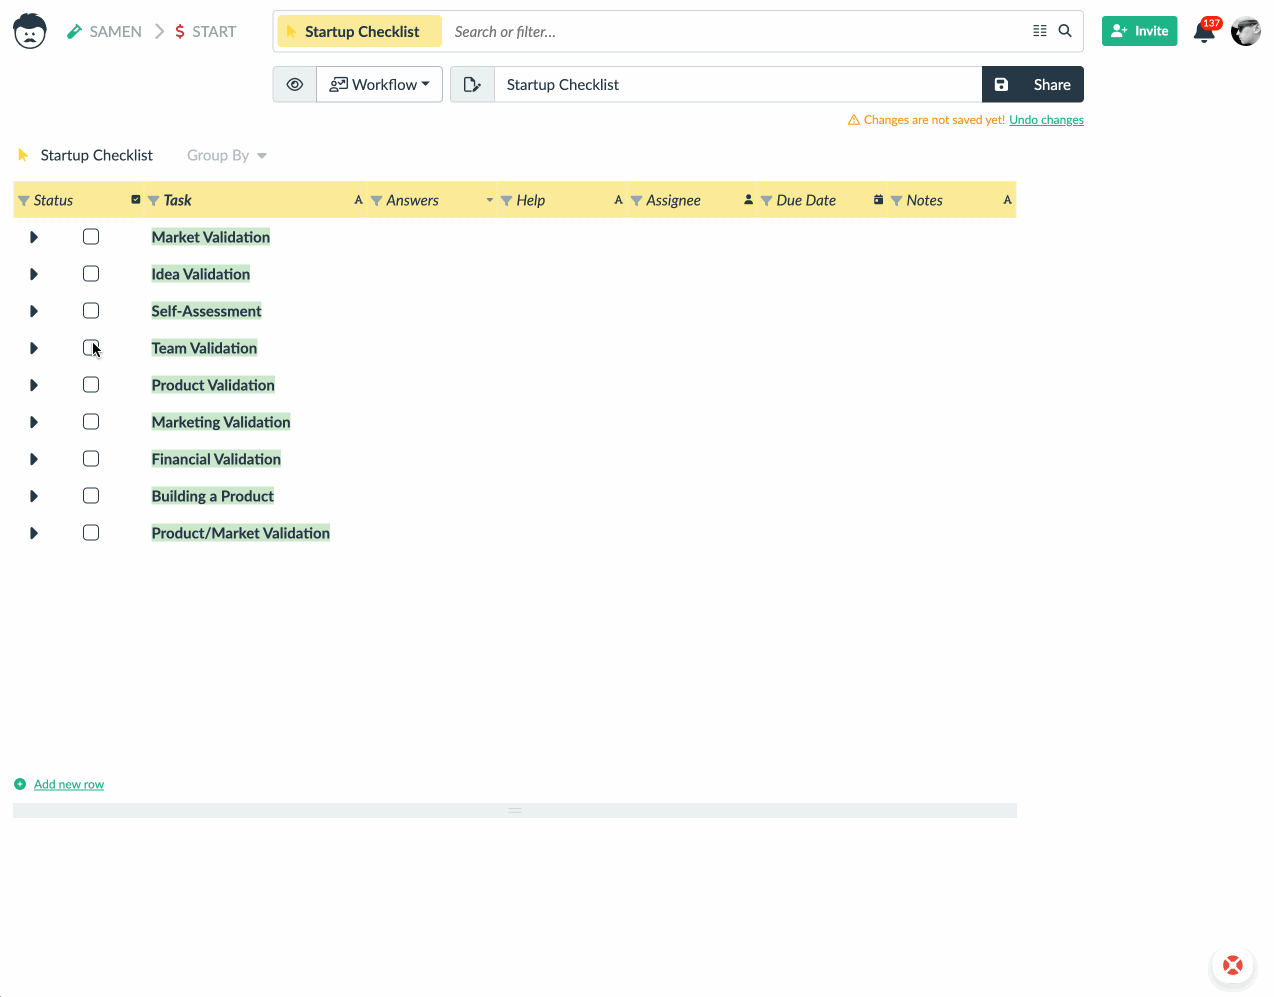
You can also use hierarchies and subtasks (even collapsible) in the Workflow view.
Filter Switch to Work with Hierarchies
Normally, whey you filter your data, you won’t see child elements that do not match the filter. If you wanted to always see the all the child elements, you can easily show them in the filter configuration.
In addition to turning this switch on, you can use a dynamic filter. This means using values like Current User, or Current Team in the filter. Then, you can safely share the single view with all your team members and they will see only the part of the table that they are responsible for.