Using the Calendar View

Using the Calendar view is especially useful for displaying data which represent tasks or events. Learn to use colors, groups, duration, task list and more.
Proper calendar view usage might help you greatly to efficiently manage your time.
Configuring the View
1. Basic Settings
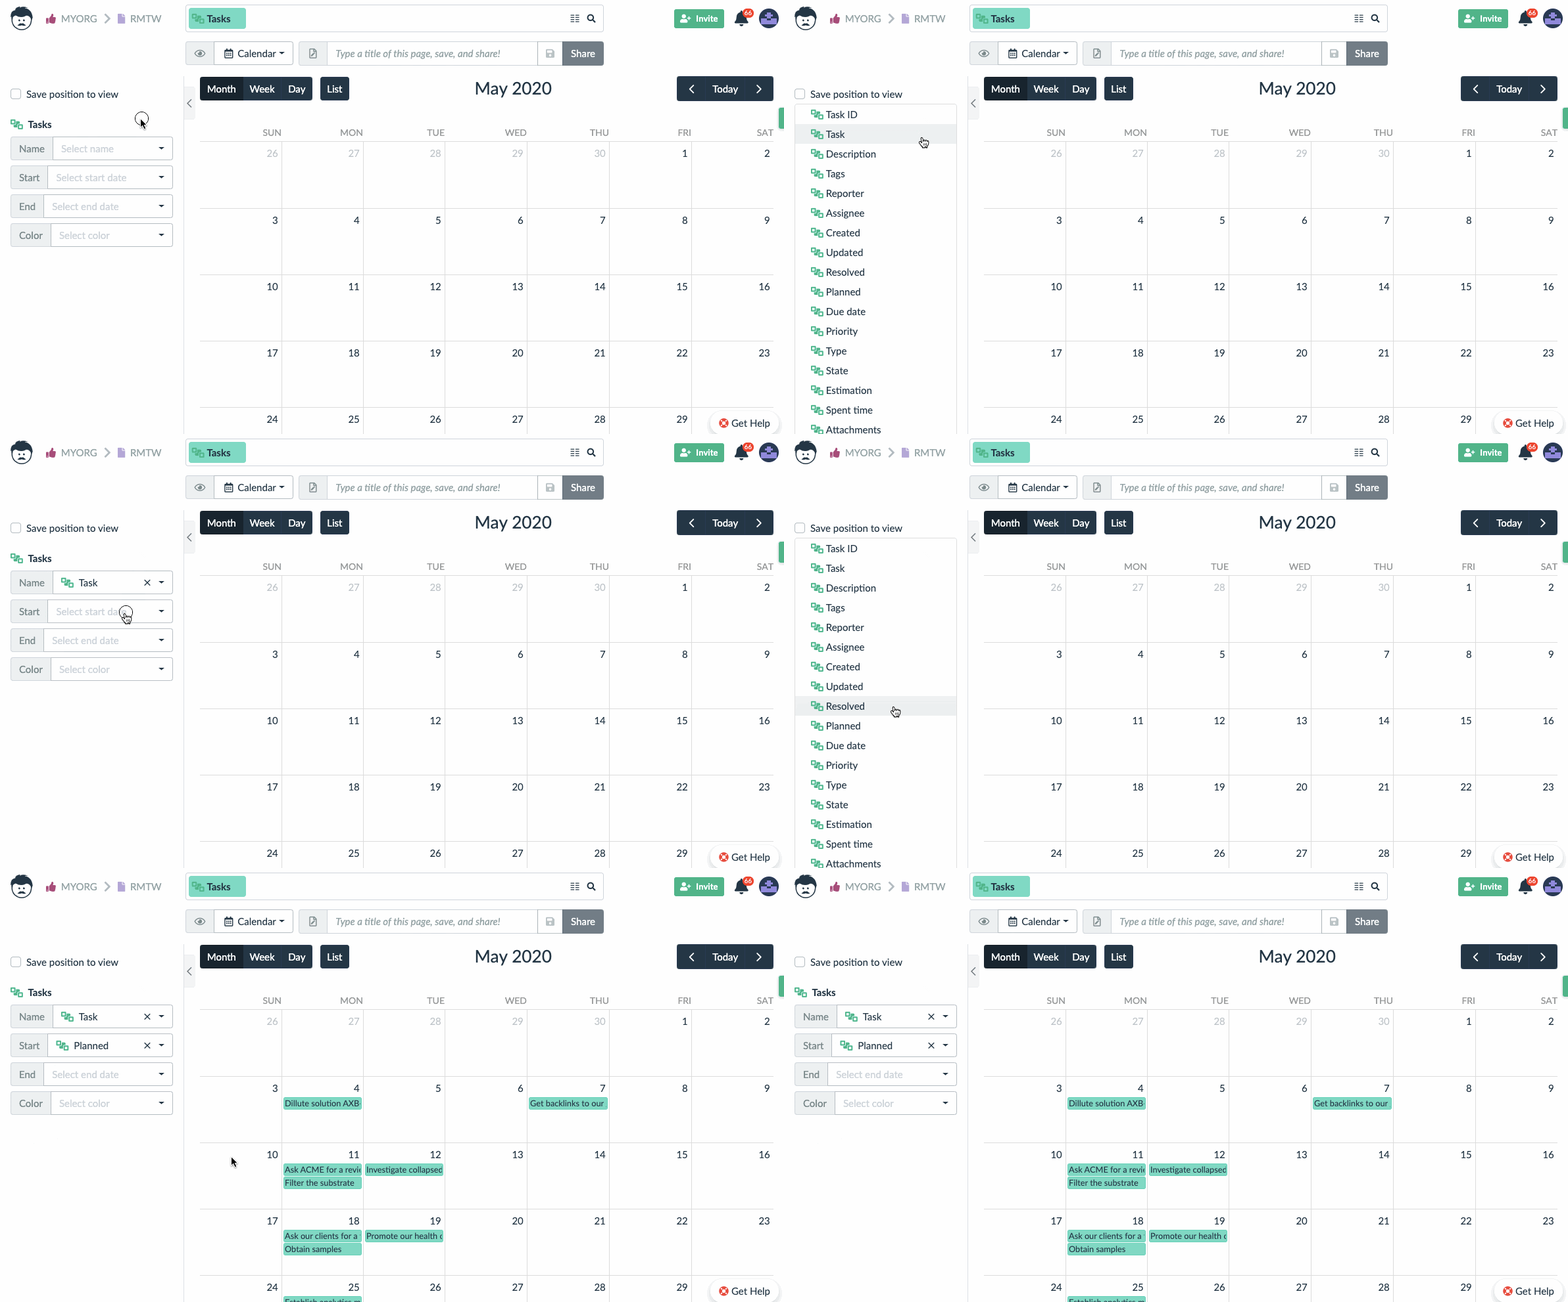
First, you need to choose the attributes (columns) where event names are stored, and a date when the events start.
This is enough for Lumeer to be able to display your events in the calendar view. But since there is no end date, all events are displayed as whole-day-long events.
2. Setting the End Date
You can also set up an end date for an event. Now Lumeer know when your events end.
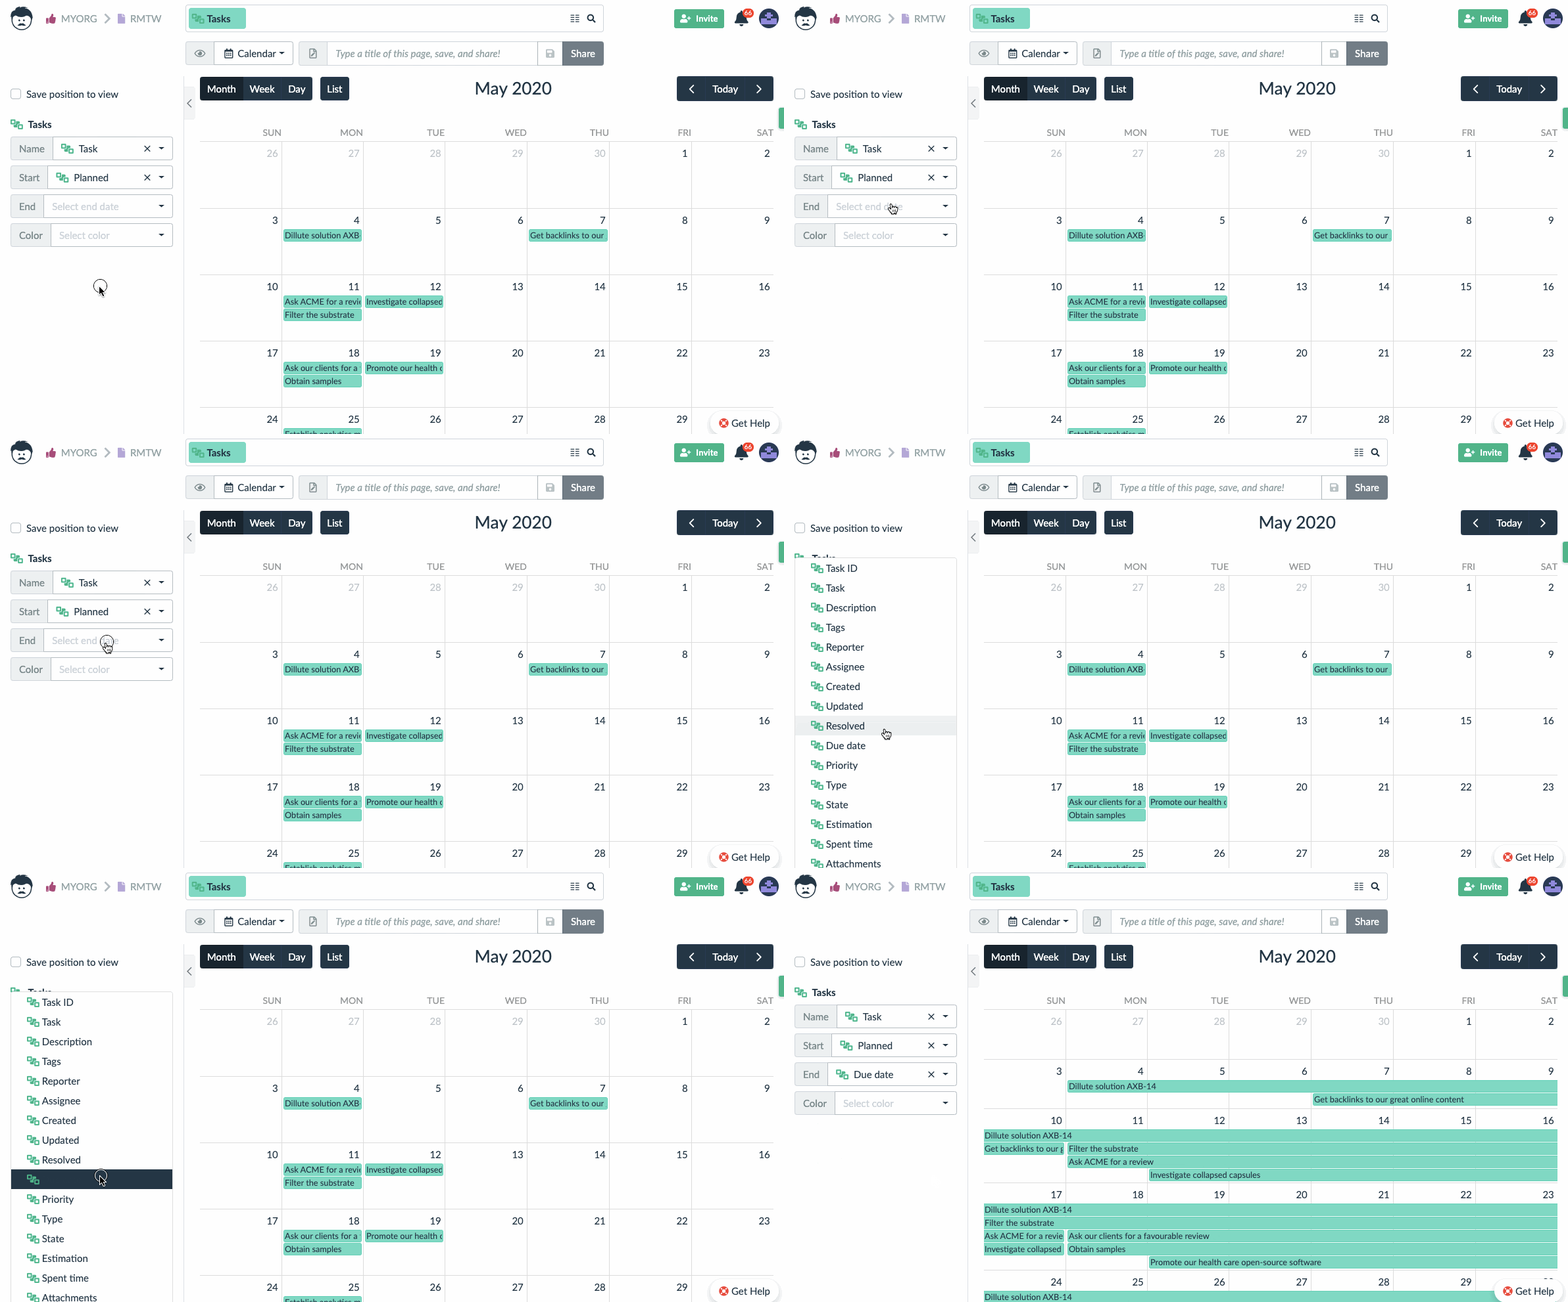
Instead of an exact end date, you can also choose an attribute of type duration. The end date is then calculated from the start date plus the duration.
3. Colorful Events
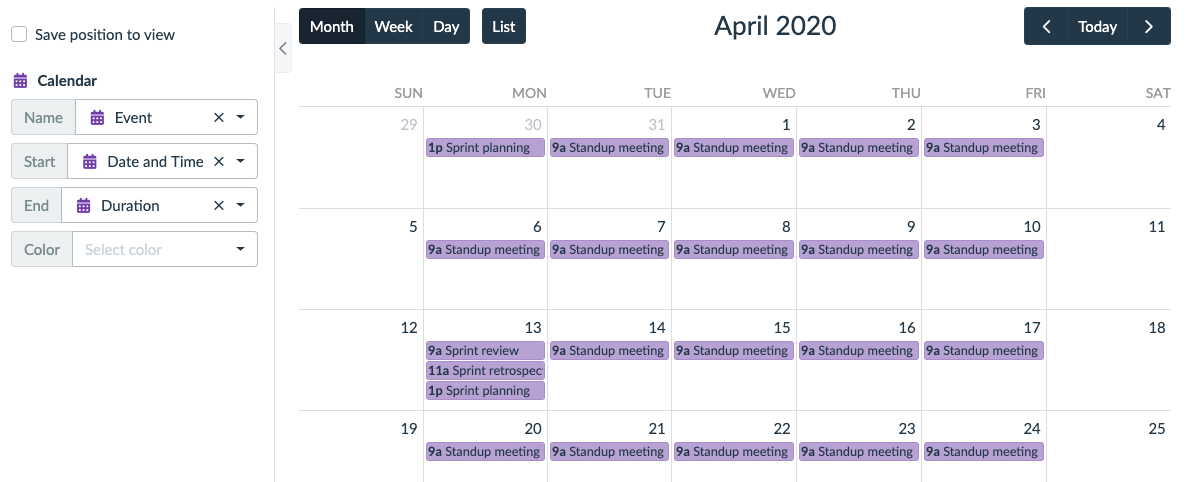
It is possible to have different colors for individual events in the calendar. This is useful to distinguish between various types of events, or their states.
To set an event color, choose any attribute of type color or selection.
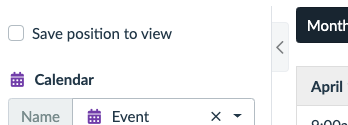
4. Saving Position
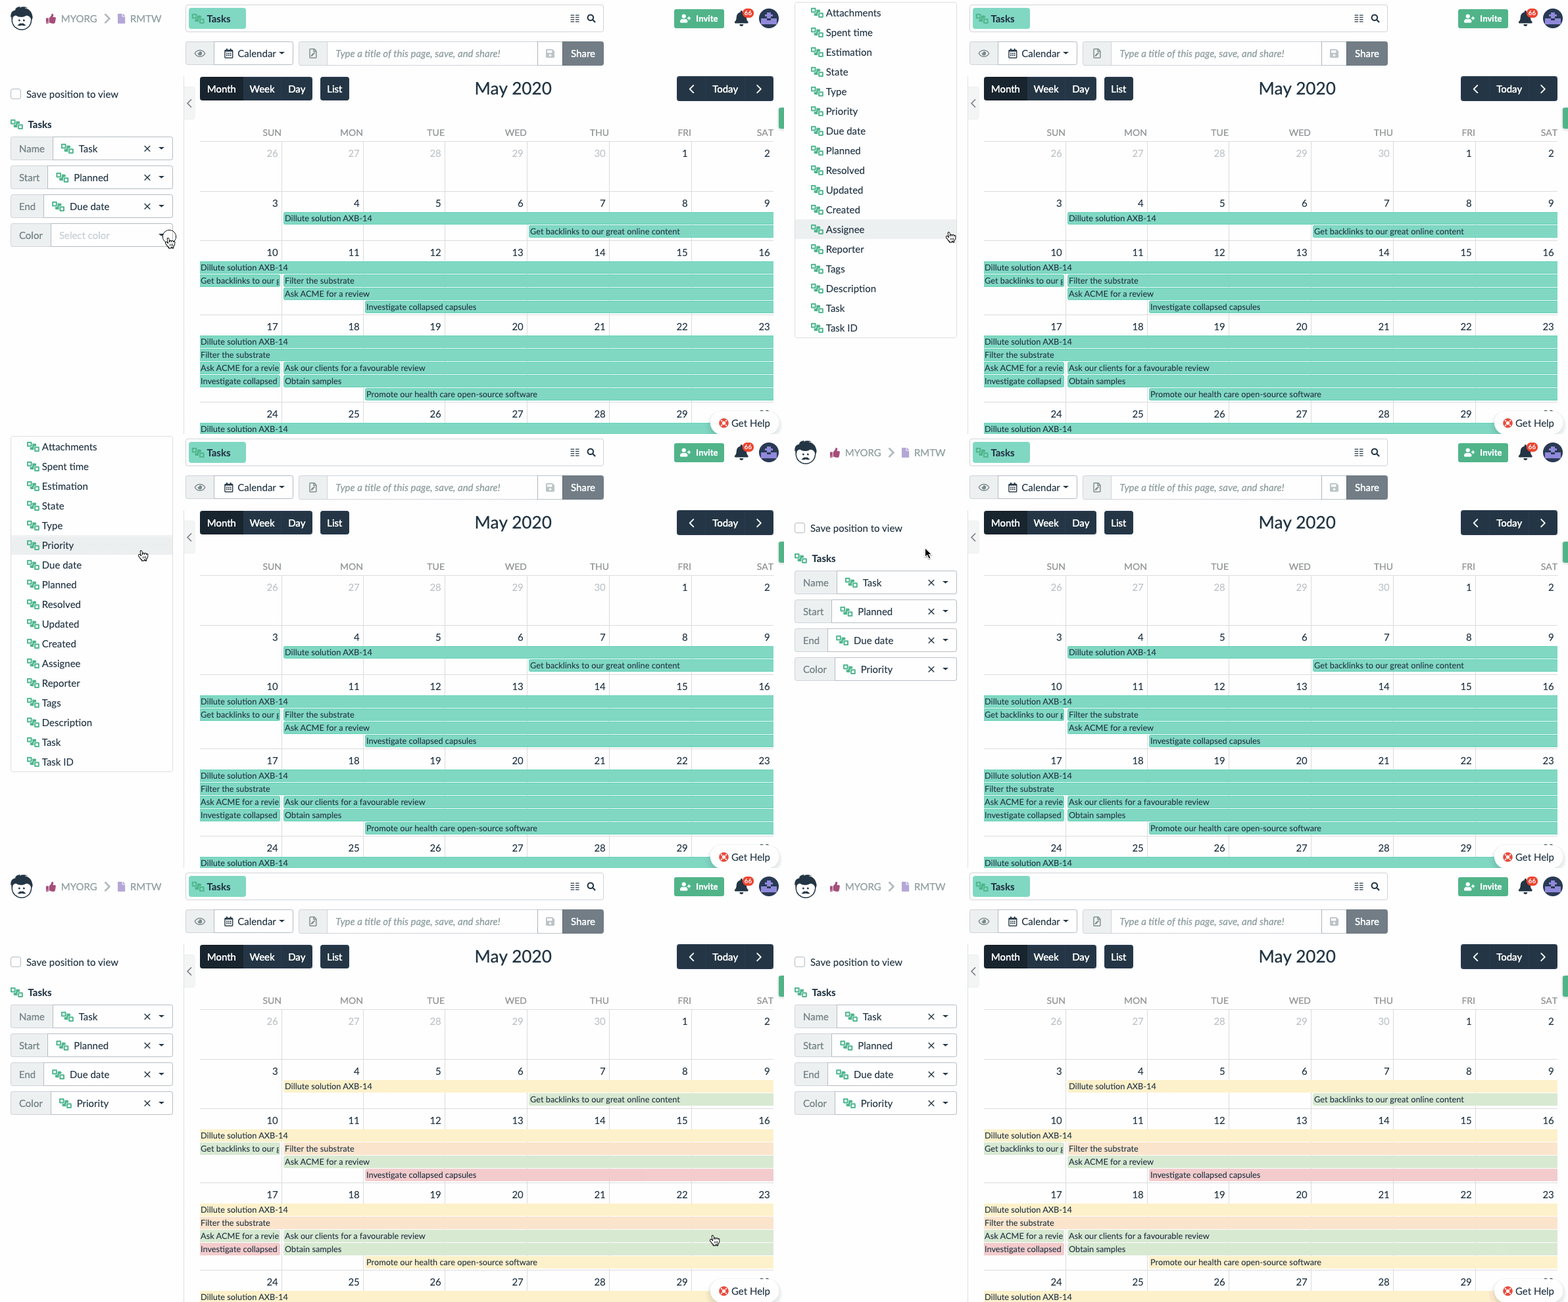
If you want to save your custom view with the current position in the calendar (e.g. May 2020), tick the appropriate checkbox in the configuration panel.
Otherwise, the view will always open at the current date.
5. Grouping the Items
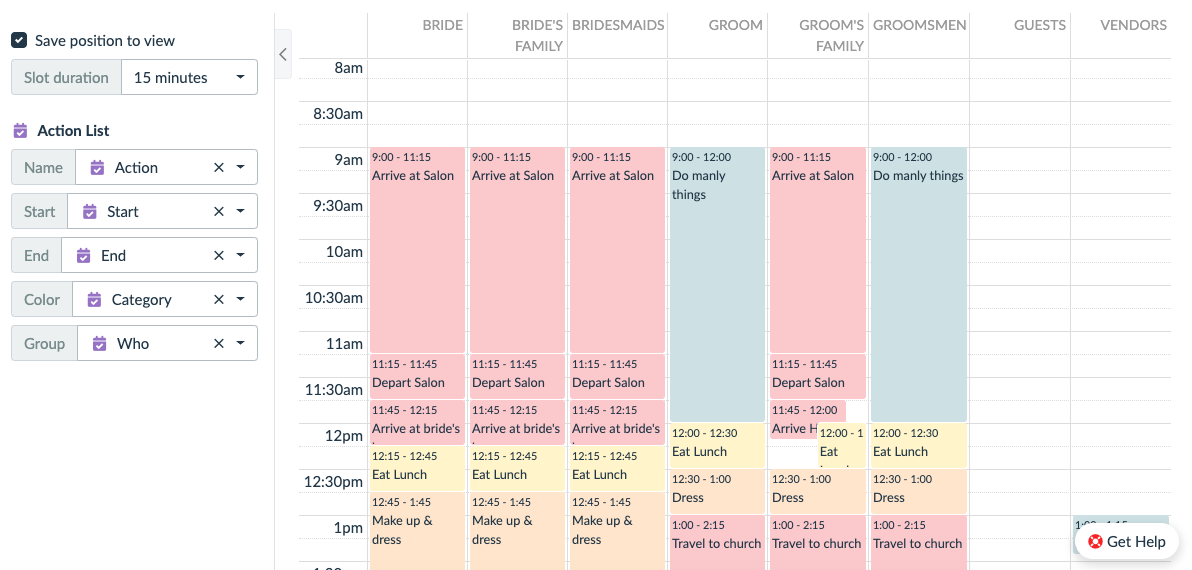
In the Week or Day calendar display, you can group events into separate columns.
See our Wedding Planning Template for a practical example.
If you want to have multiple groups of parallel events in the calendar, set the value of the Group field. Then, every column in the calendar represents a group accordingly.
Changing the Level of Detail
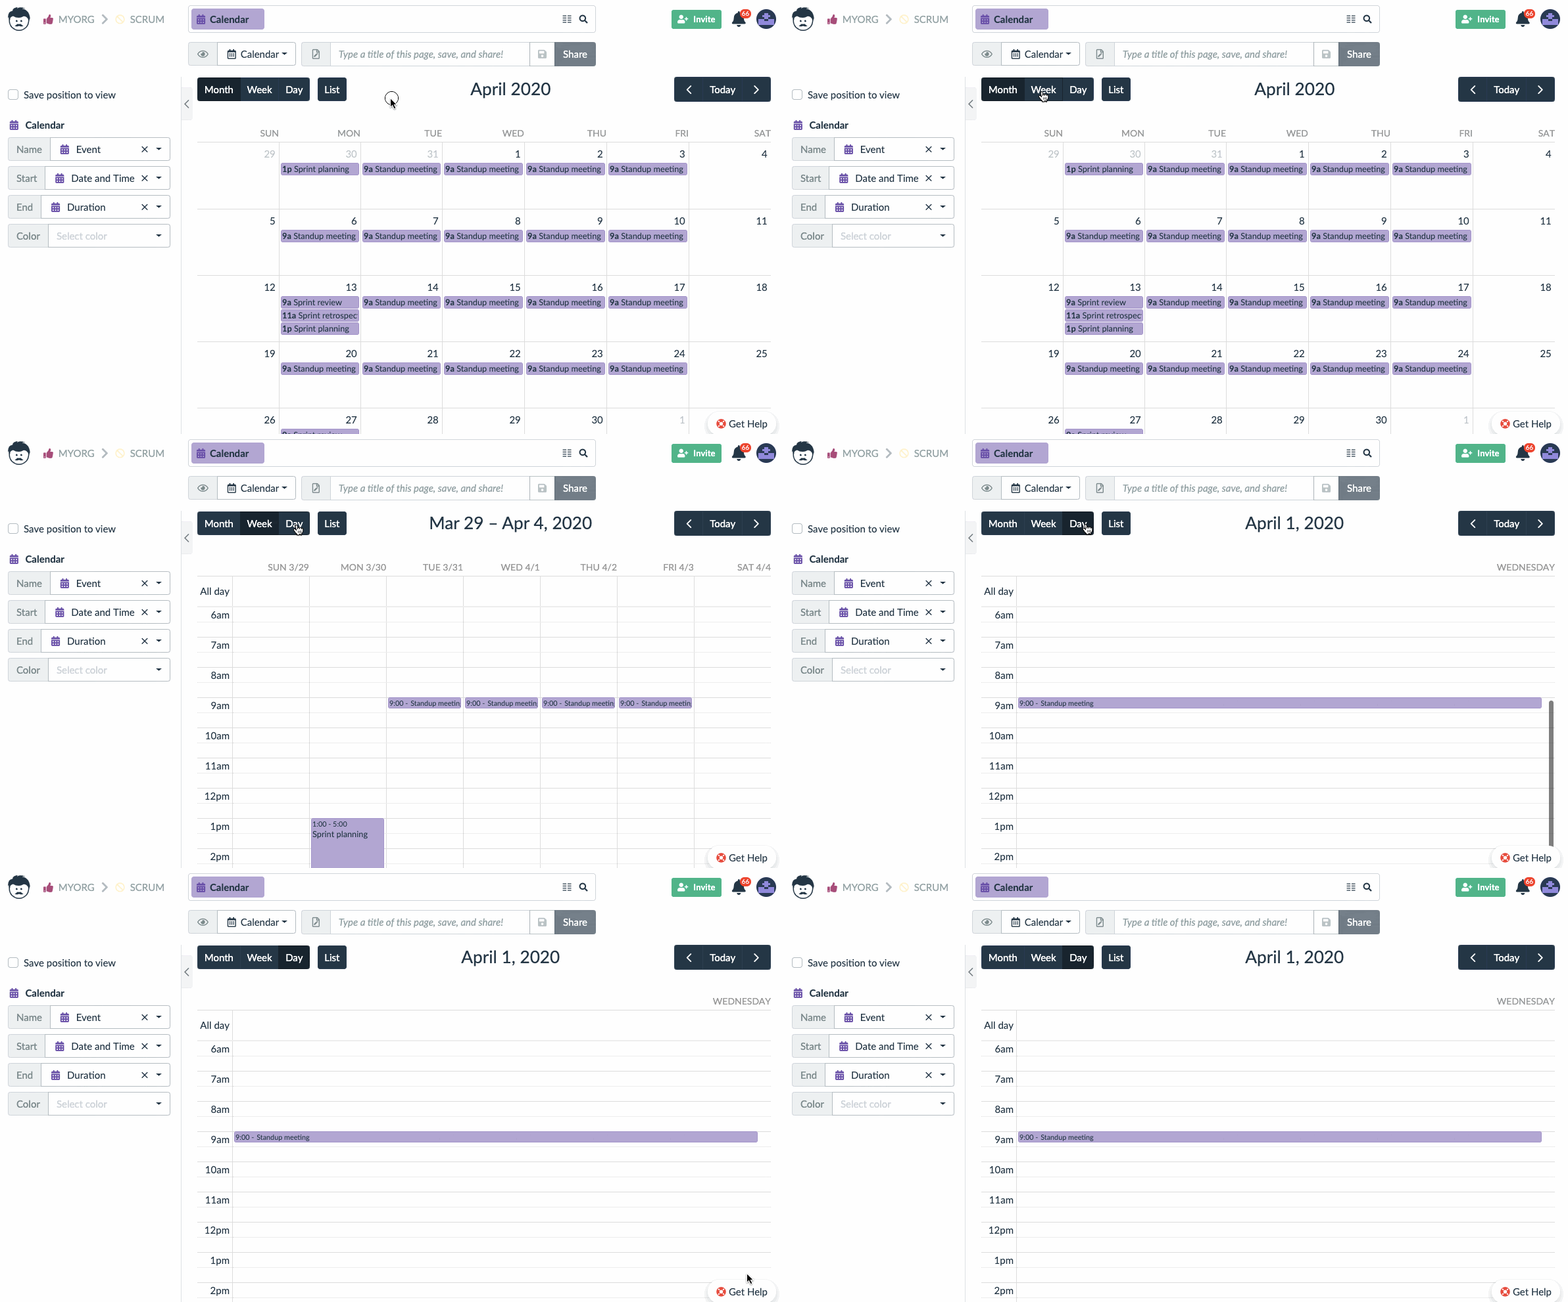
1. Month/week/day
You can switch between monthly, weekly or daily calendar in the top left corner.
2. Line Length
Sometimes, we are more focused on a high level overview. While in another situation, we might want to see more details. For that, we can specify the the time window represented by a single line in the daily calendar view.

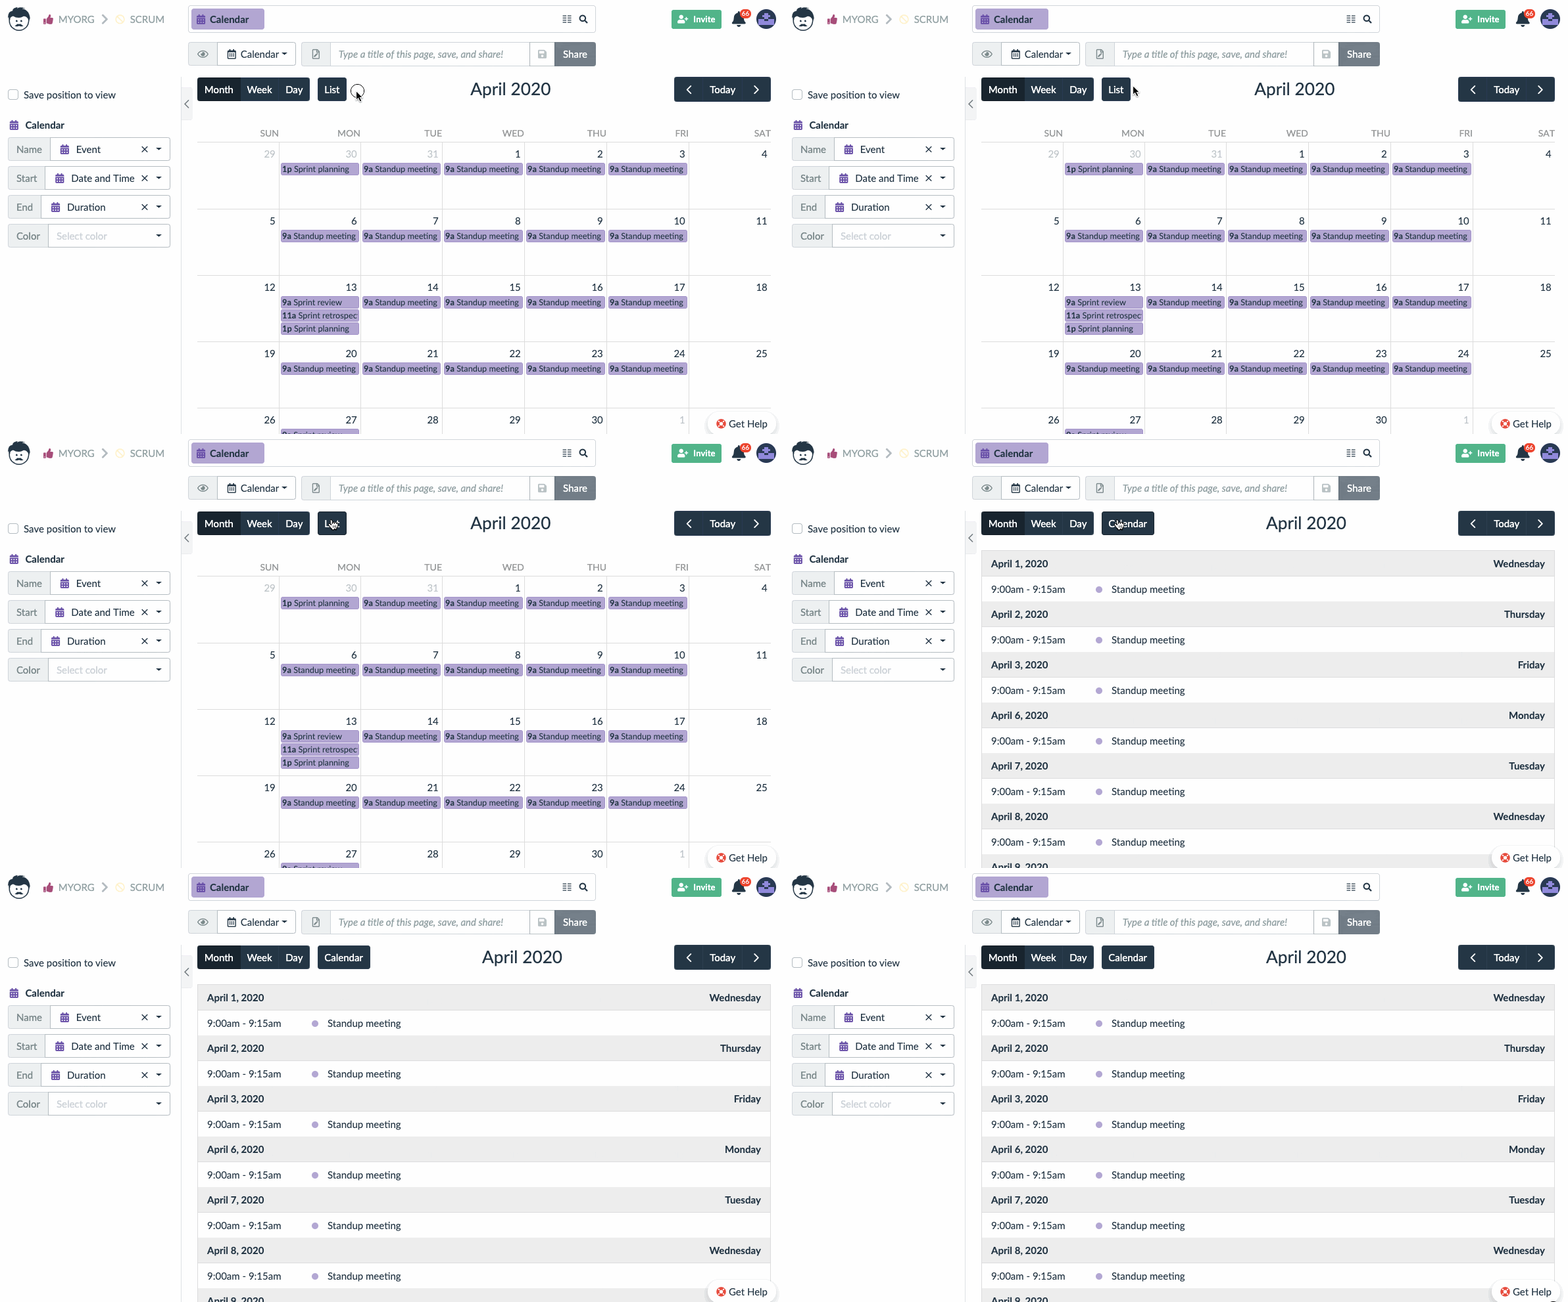
3. Calendar and List Display
In addition to a typical calendar, you can also switch to a list view. This is useful to get a whole plan of your day or week. It allows you to get a list of events without the gaps that are normally visible in a calendar.
Working With the Data
1. Updating Existing Records
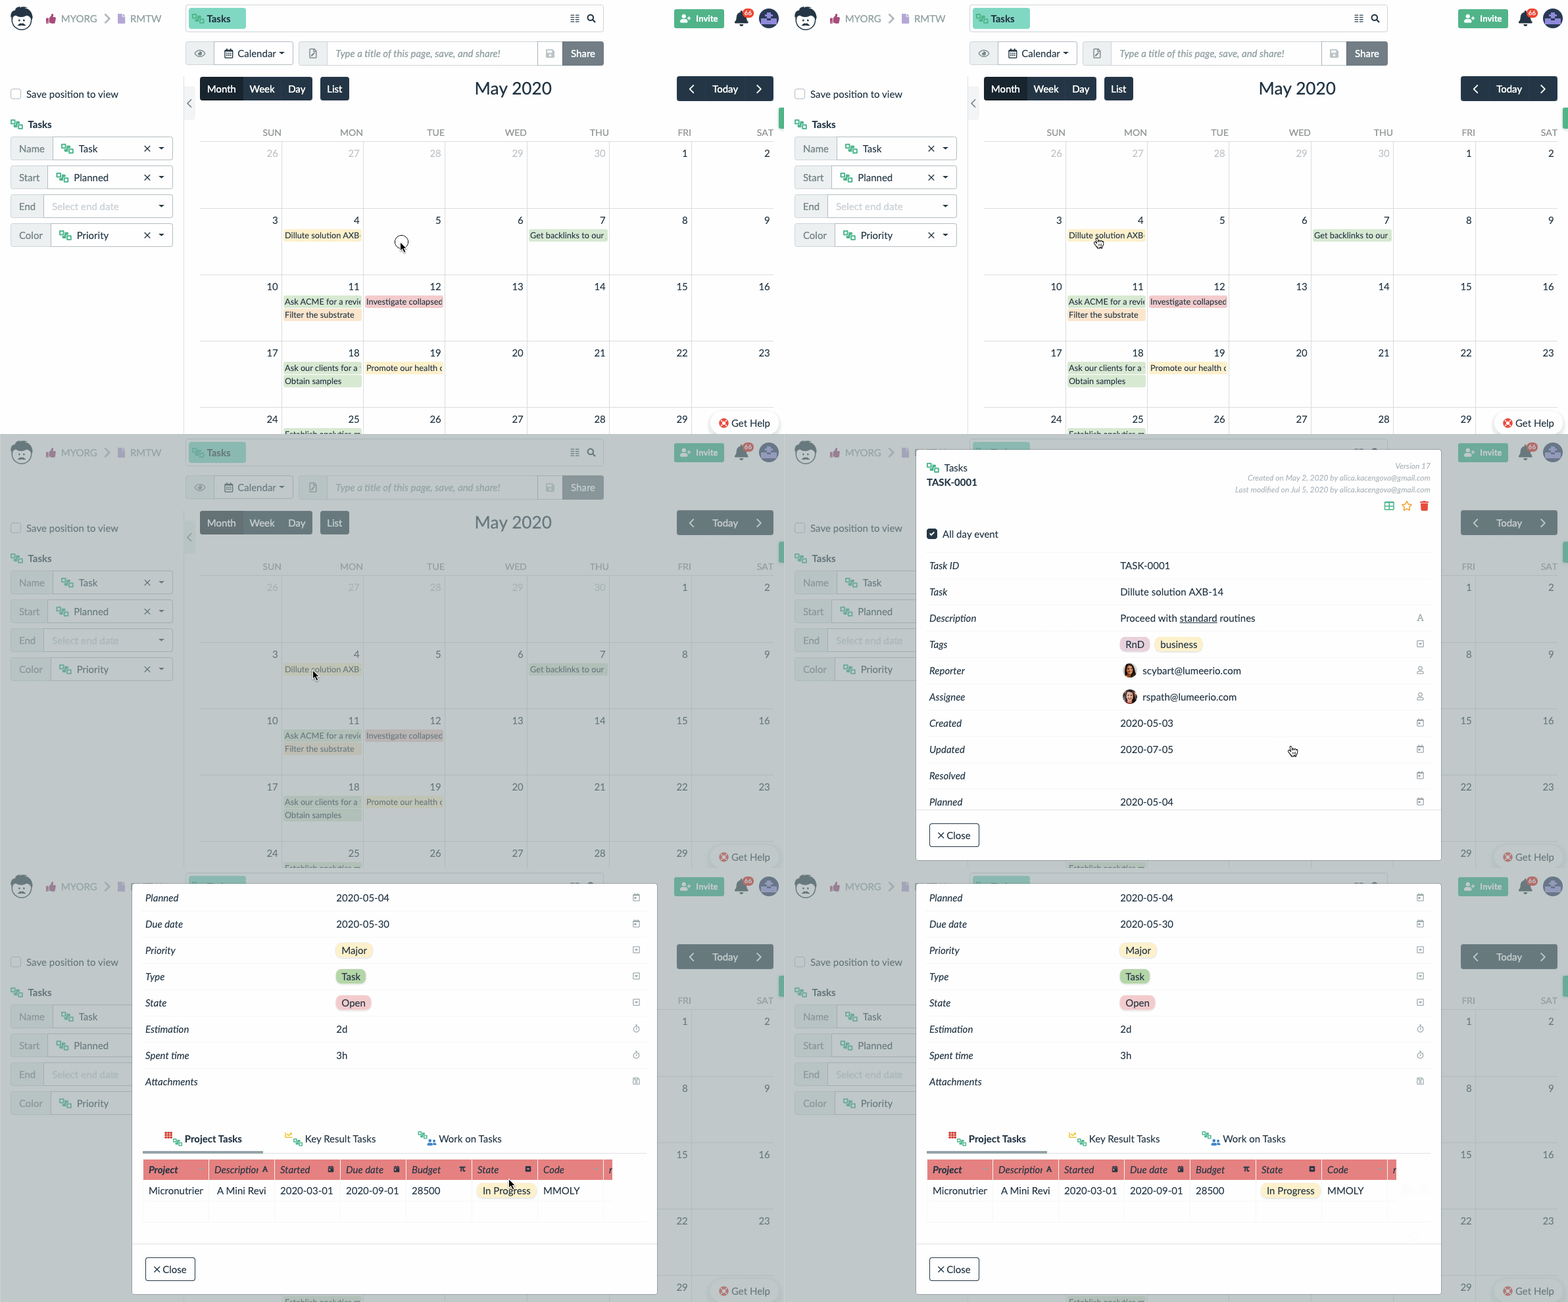
When you click on an event in the calendar view, you will enter the record (event) detail. There you can edit all its attributes, add comments, and see change history (supposing you have sufficient user rights).
2. Rescheduling
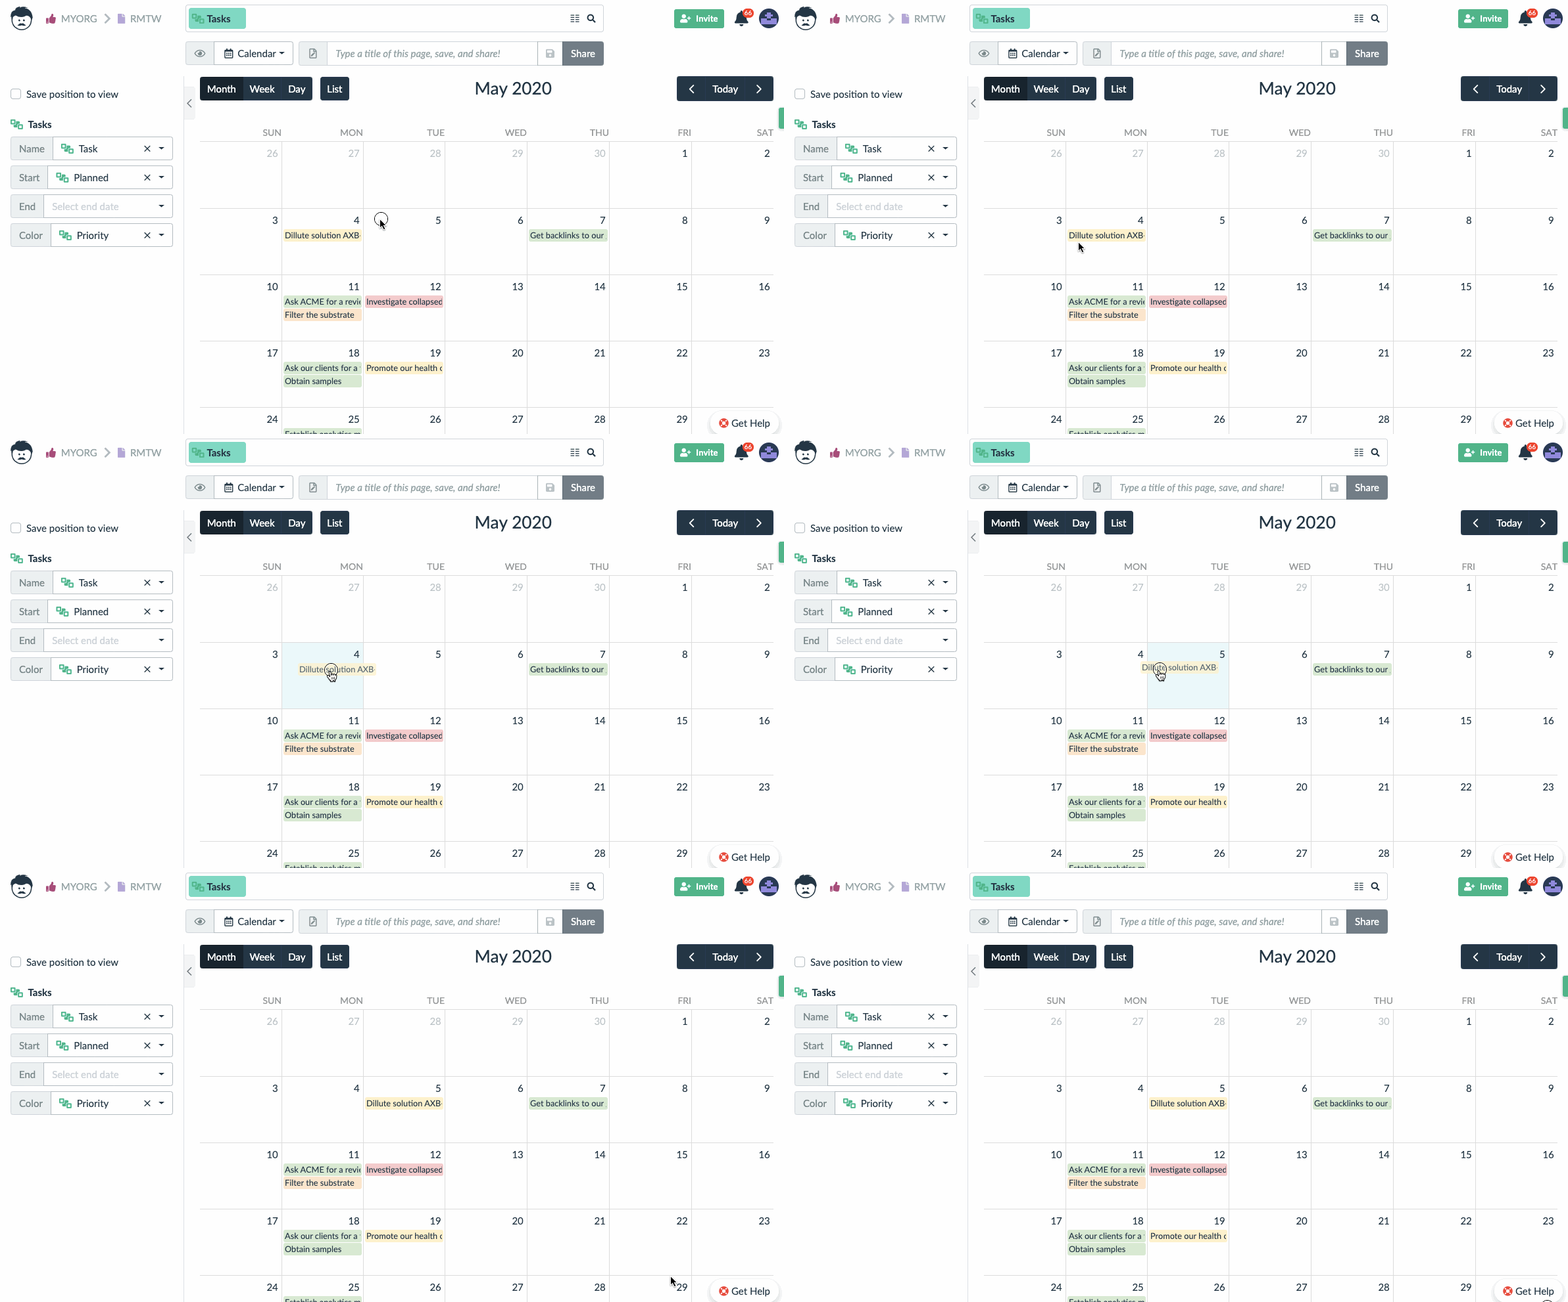
To reschedule an event (change the event date), simply drag and drop it to a new position.
3. Adding New Events
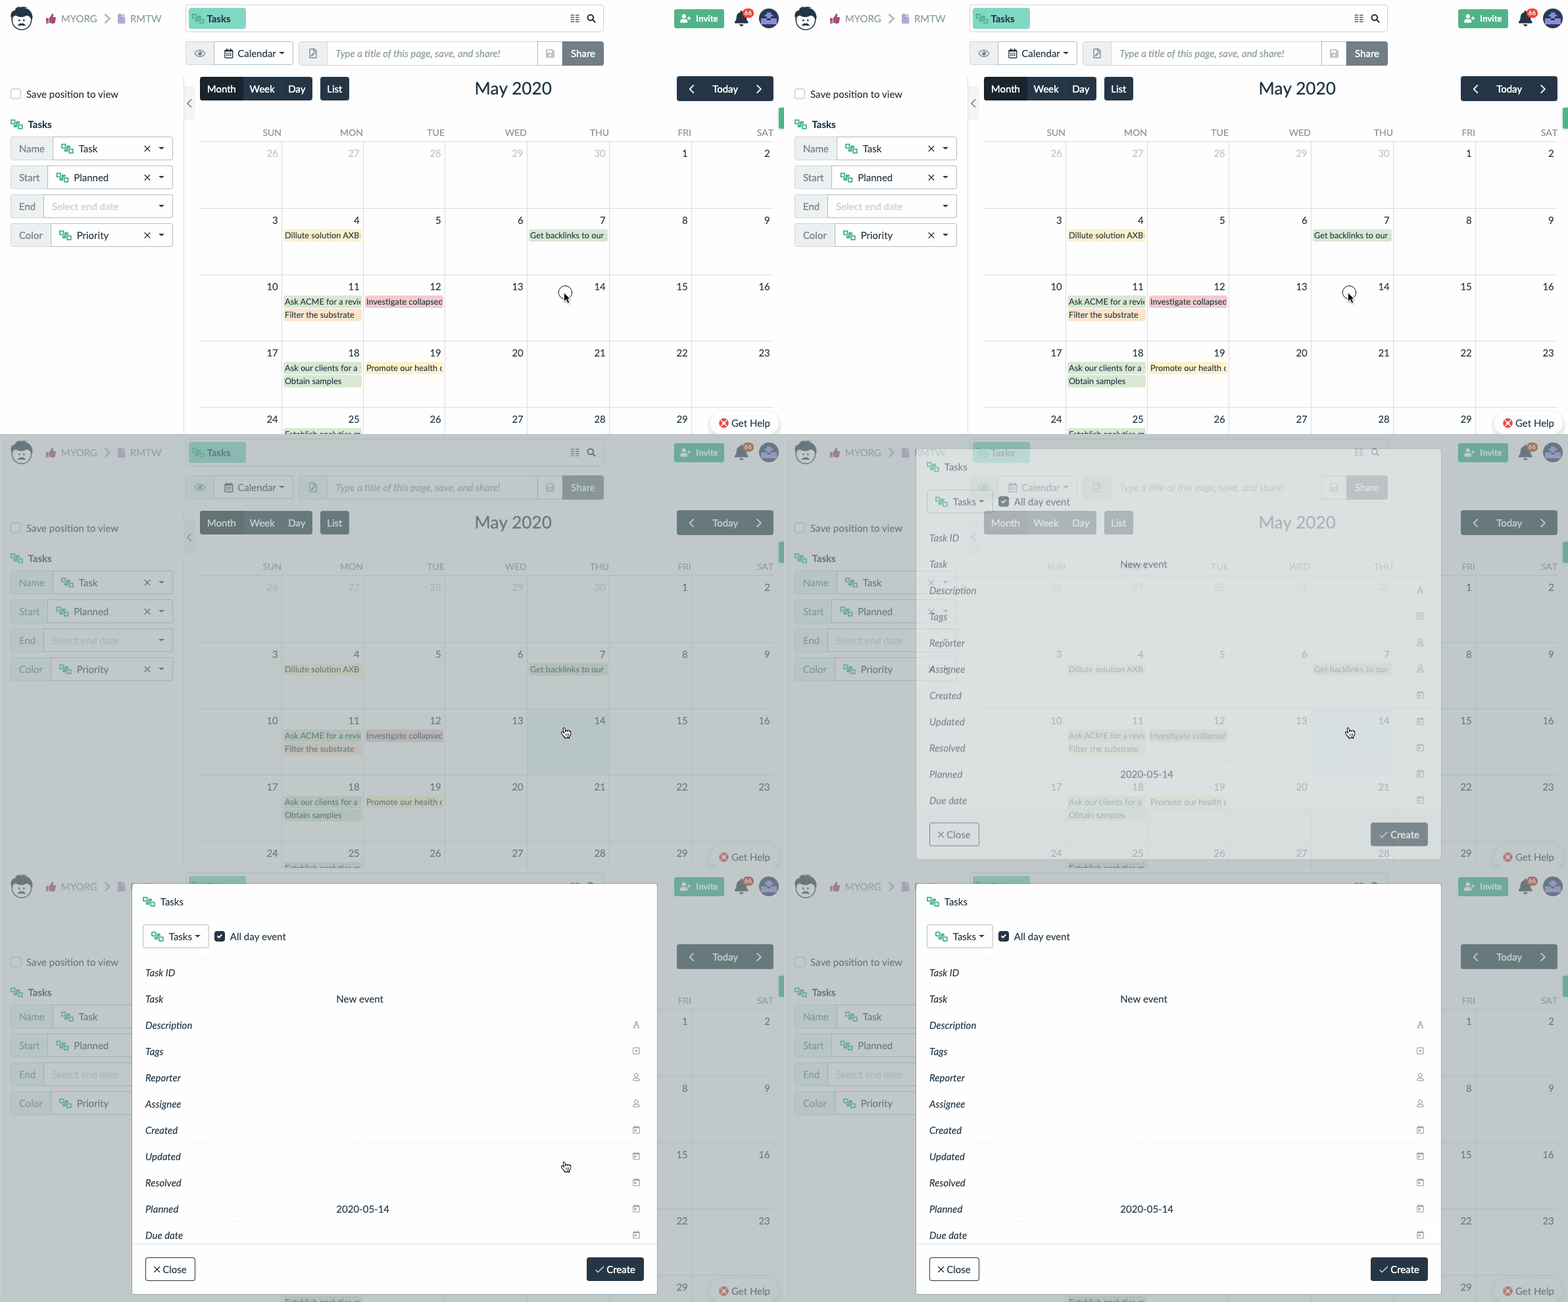
To add a new event while using the calendar view, drag and drop anywhere in the calendar, or just double click on any empty space.
Advanced Use Cases
The calendar view also allows you to use multiple tables with events at the same time. All events are then mixed in a single calendar.
To connect with other calendars, have a look at our integration possibilities.
We also work on adding direct integration with common calendars. If you have any idea or feature suggestion, feel free to reach out to us.