Navigating Lumeer

Navigating Lumeer is easy and requires only a few clicks.
If you selected a project template when starting with Lumeer (or you are logging to a project created by your colleague), the typical home screen looks similar to the following.
If you have an empty project, read about Adding your first table, or Importing your existing data.
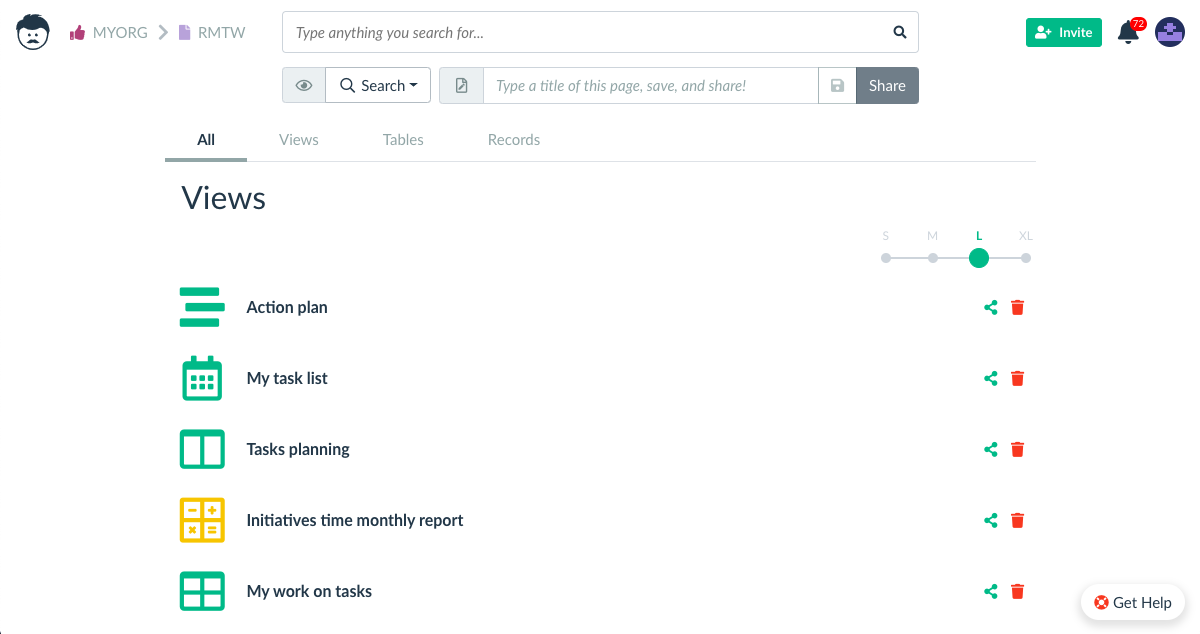
Starting in the top left corner, you can see the Lumeer icon. By clicking on the Lumeer icon, you can always return to this home screen. Here you can best find and access your stored data.

Every table or view in Lumeer belongs to a project and every project belongs to an organization.
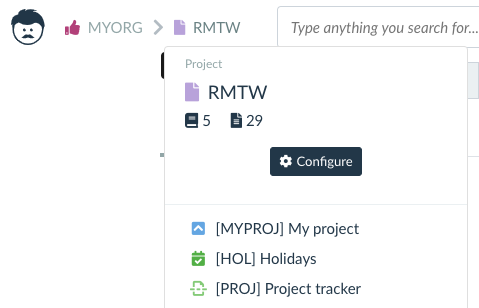
On the right, there is a code of your current organization (MYORG) and project (RMTW). By clicking on these, you open a dropdown menu that enables you to switch between projects and organizations and enter their settings.
Switching projects in these menus make navigating Lumeer really fast.
You can also create new projects and organizations here.
User Menu
In the top right corner, there is a user menu. In that menu, there is an item Application Tour. This will introduce you the basics of navigating Lumeer.
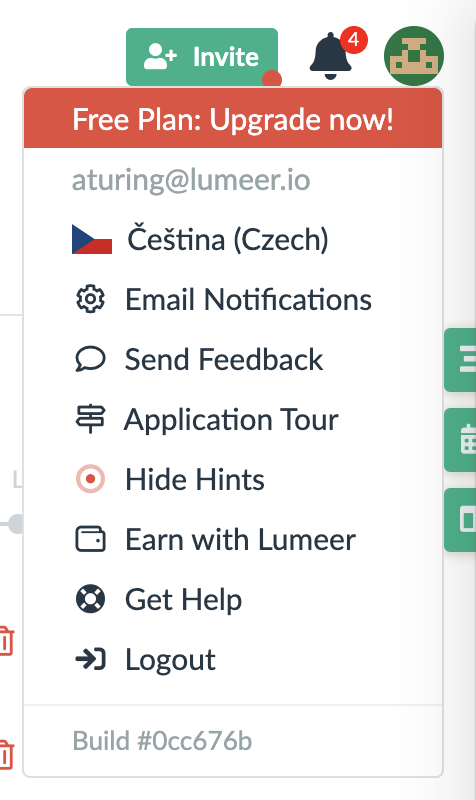
Sometimes you might also notice small blinking red dots. These should draw your attention to important controls. If you are a pro in navigating Lumeer, you can always switch them off in the user menu (top right corner, do you remember?).
You can also configure email notification from the user menu, leave us feedback, report an issue, seek help, or access our affiliate program. You can read more on these topics in a separate article.