Get Help – Start Here

Welcome aboard! Let’s take a quick look at what Lumeer is and how to get you up to speed. Here you can find important links to basic concepts to get help quickly.
What is Lumeer?
Lumeer is a flexible tool to plan, organize and track anything you like. Various people often ask – how do I enter my tasks? Where do I store clients’ addresses? The answer is: “It is up to you”!
As with spreadsheets (like Microsoft Excel or Google Sheets), nothing is given in advance (except for examples in project templates, more on that in a minute). You are absolutely free to store any information in the way that best suites your needs.
The Home Screen
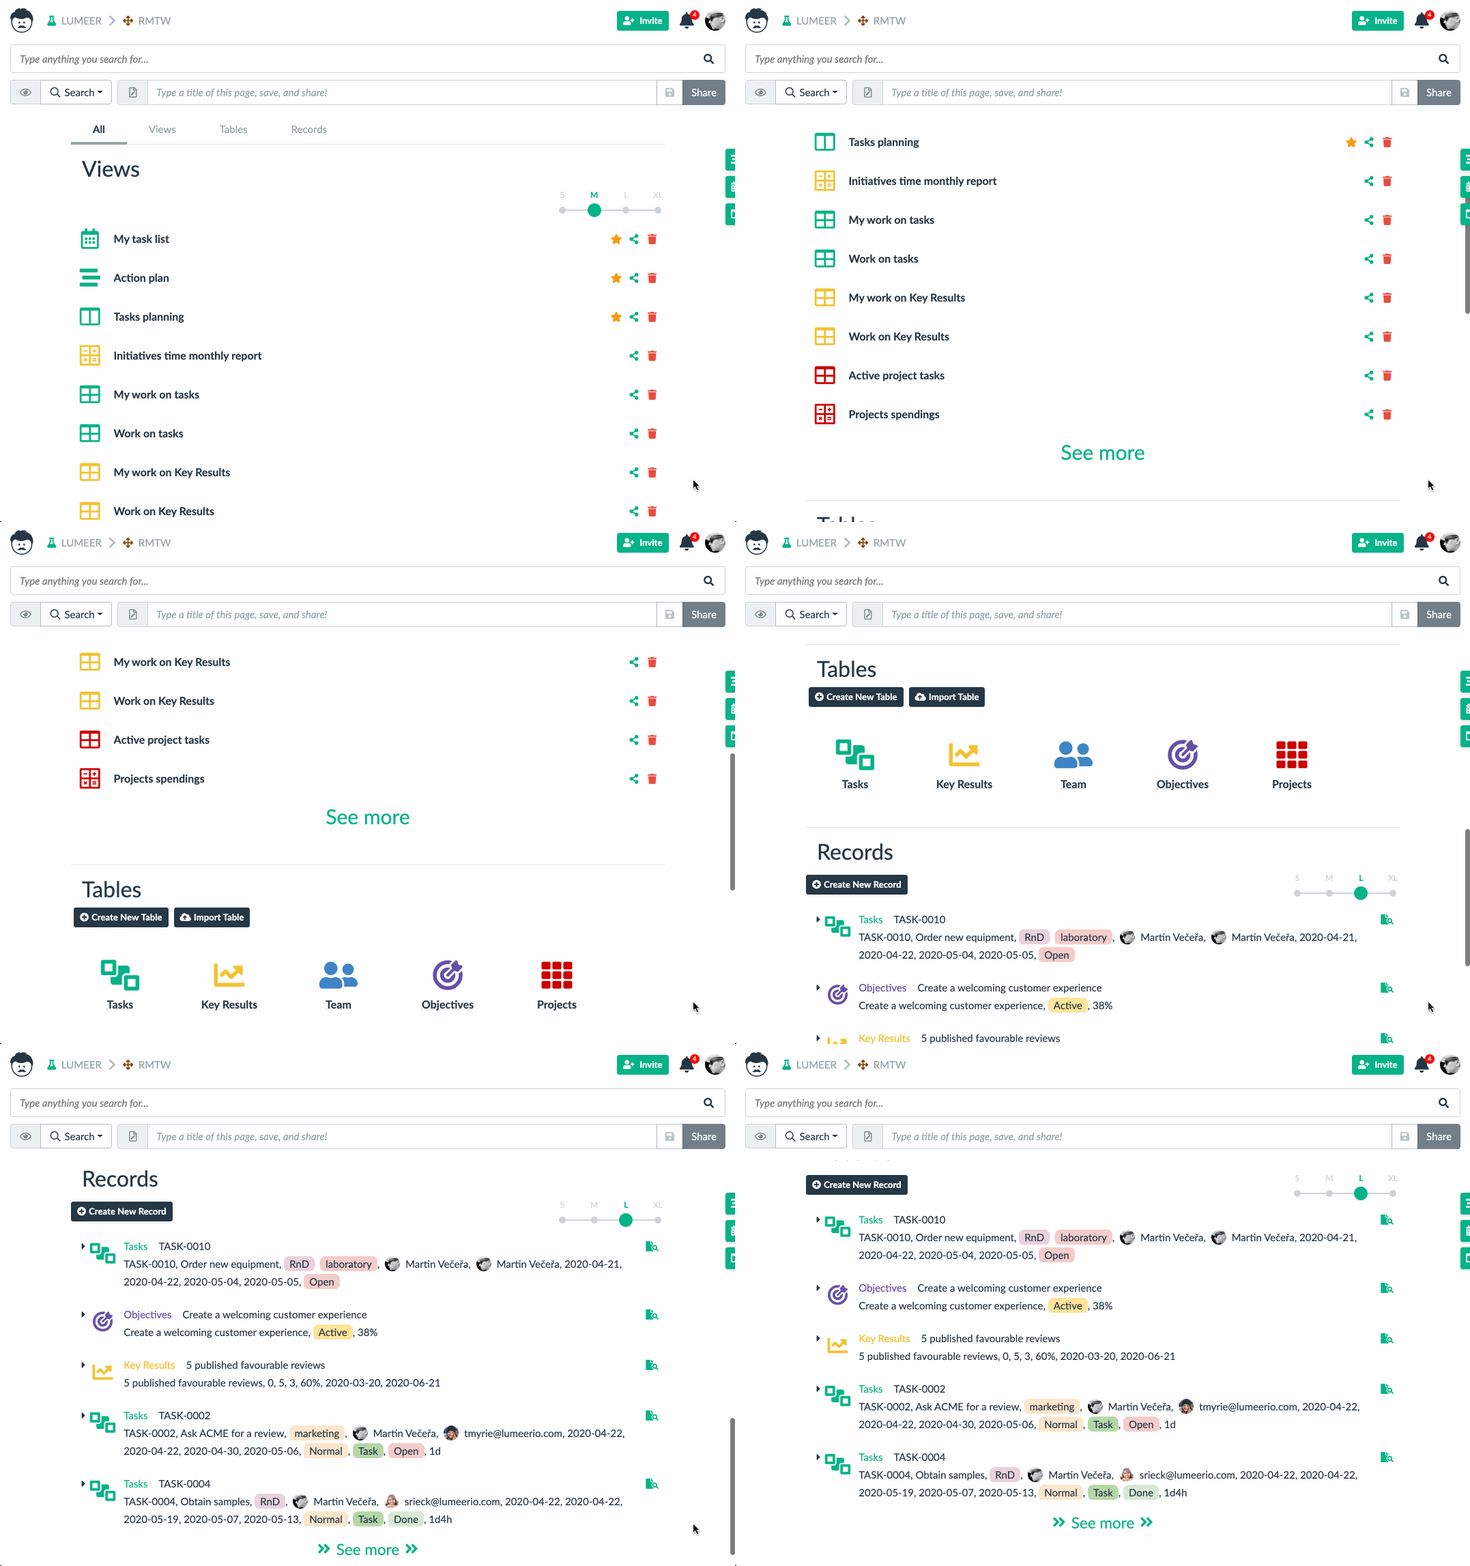
If you selected a project template when starting with Lumeer (or you are logging to a project created by your colleague), the typical home screen looks similar to the following. If you have an empty project, read about Adding your first table or Importing your existing data.

Starting in the top left corner, you can see the Lumeer icon. By clicking on the Lumeer icon, you can always return to this home screen. Here you can best find and access your stored data.

To the right, there is a code of your current organization (LUMEER) and project (RMTW). By clicking on these, you can open a dropdown menu with the settings.

In the top right corner, there is a button to invite colleagues (see User management), the bell icon with the Notification center (try opening it), and the User menu symbolized by the current user’s avatar (the user’s avatar can be changed at Gravatar). Click on the user icon to see the content.
Searching for Information
At the top of the screen, you can always see a search bar (see the input box with Type anything you search for…). This is like Google for your data. When it is empty, Lumeer always displays all your data.

You can further narrow it down by specifying a table name, additional filters on your data or any text you search for. Lumeer always helps you with forming your search and you can immediately see the search results.

Lumeer will be guiding you through specifying additional search filters.

Down below the search bar is the setting of how you view your information. These are called Views.

Views
Views are the visual representations of the information (data) that you have stored in your data Tables. They display the same Records stored in the Tables, just in a way that is easy and quick to work with.
Views are described in more detail in a separate help article. What we now see are the results presented in the form of a Search View.
The Search View displays all the saved Views, all the data Tables storing your data and the most recently used Records from the Tables.

Try switching it to the Table View using the dropdown.

You can read further details about the Table View.
Sending feedback
We would love to hear about your experience with Lumeer. If you have an idea how to make Lumeer better or encounter any problem, please use the feedback button in the user menu.

Next Steps
We definitely recommend reading some more on the two basic types of Views in Lumeer: the Search View and the Table View.
Additional steps in learning Lumeer are:
- Access Your Data with the Search View
- Importing existing data
- Views – the general principles
To get a bit deeper, it is useful to understand the Basic Principles of how data are organized in Lumeer.
More advanced topics:
- Navigating Lumeer
- Custom Dashboards
- Table Settings
- User Management
- Organization and Project Settings
- Searching and Filtering the Data
- Upgrading to the Business Plan to Overcome Data Size Limits
- Functions and Rules
- Changing or Resetting Your User Password
You can also go through all the Views, Attribute Data Types and Templates.